Sound board
In this example, we're going to show you how to make a gadget that can play sounds when you press buttons, or your computer's keys.
Building the gadget
First, drag boards onto the cutting mat to form the shape of your gadget. Note that when boards are next to each other they have a slight snapping action that places them exactly in the right place to be soldered together.
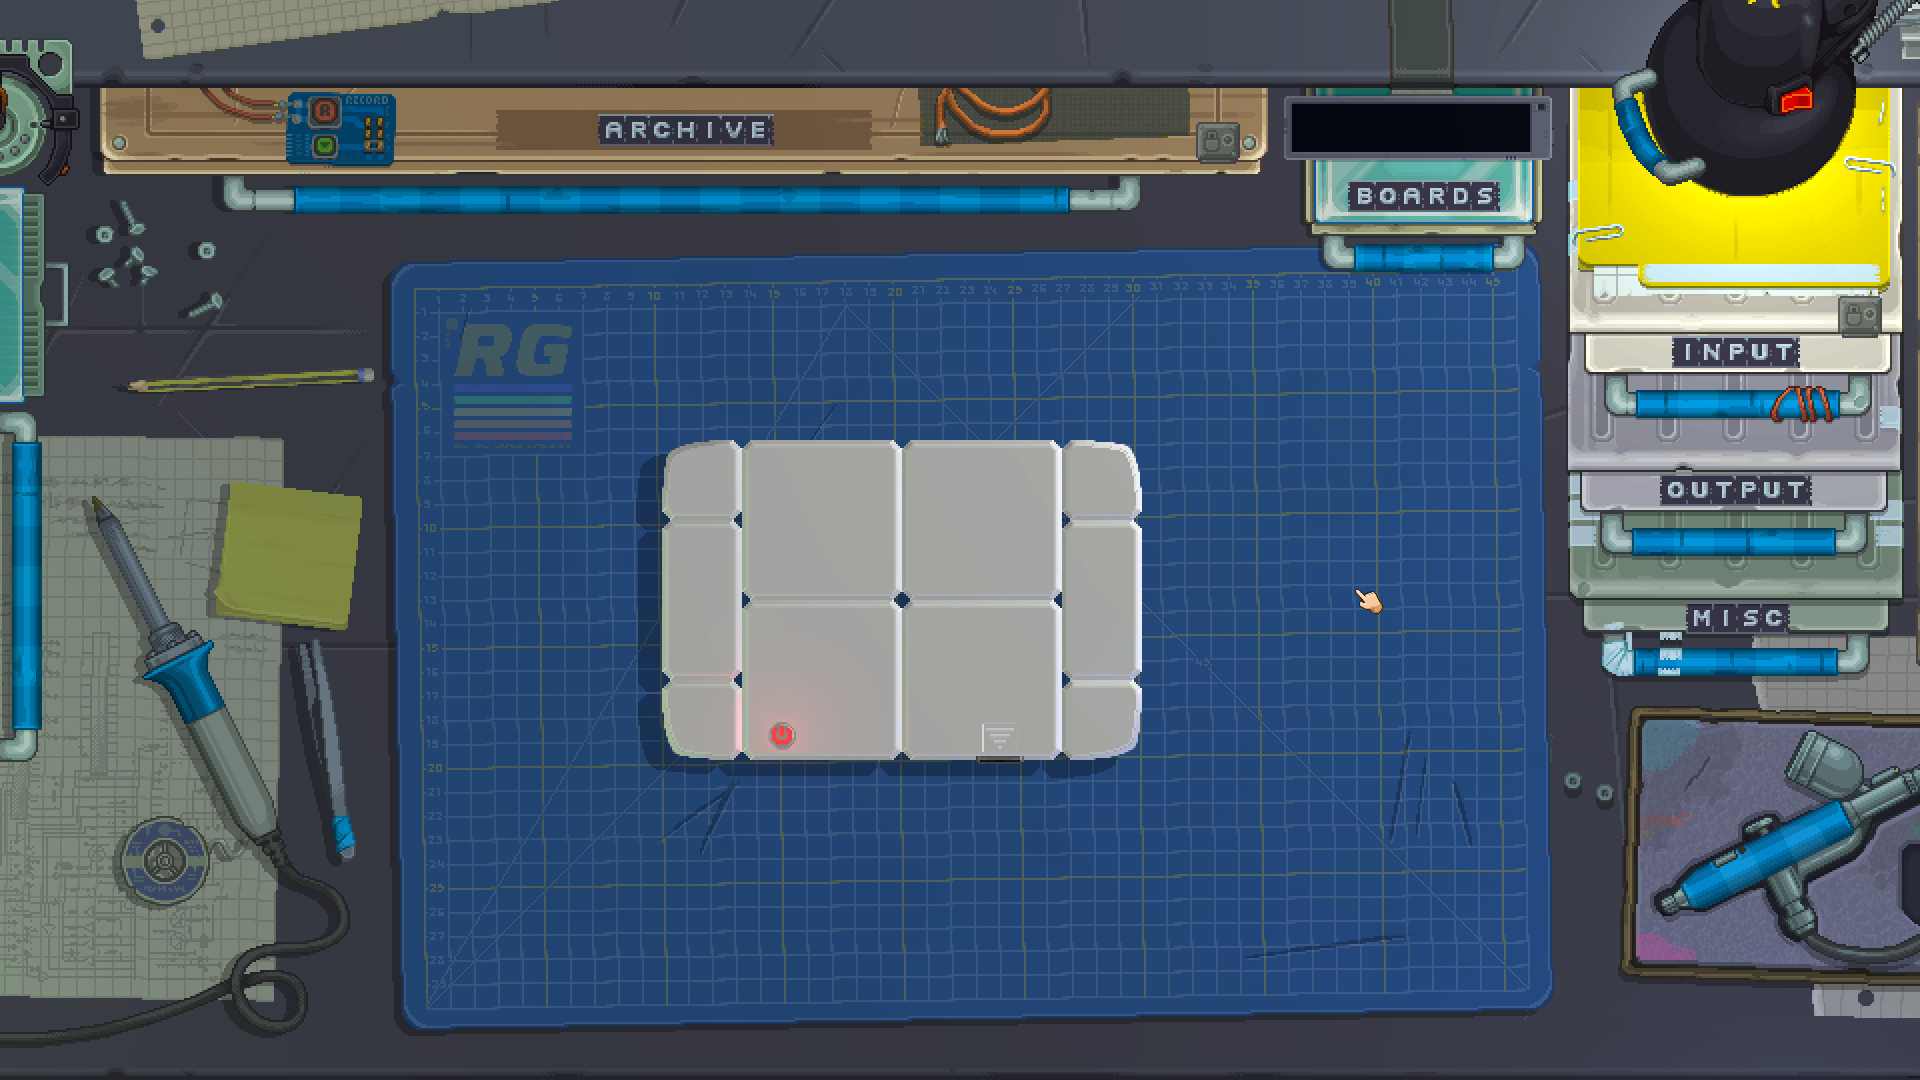
You don't have to follow this exact shape, as long as you have enough space in your gadget for all the components. Once they're all snapped together, you can use the soldering iron to join them.
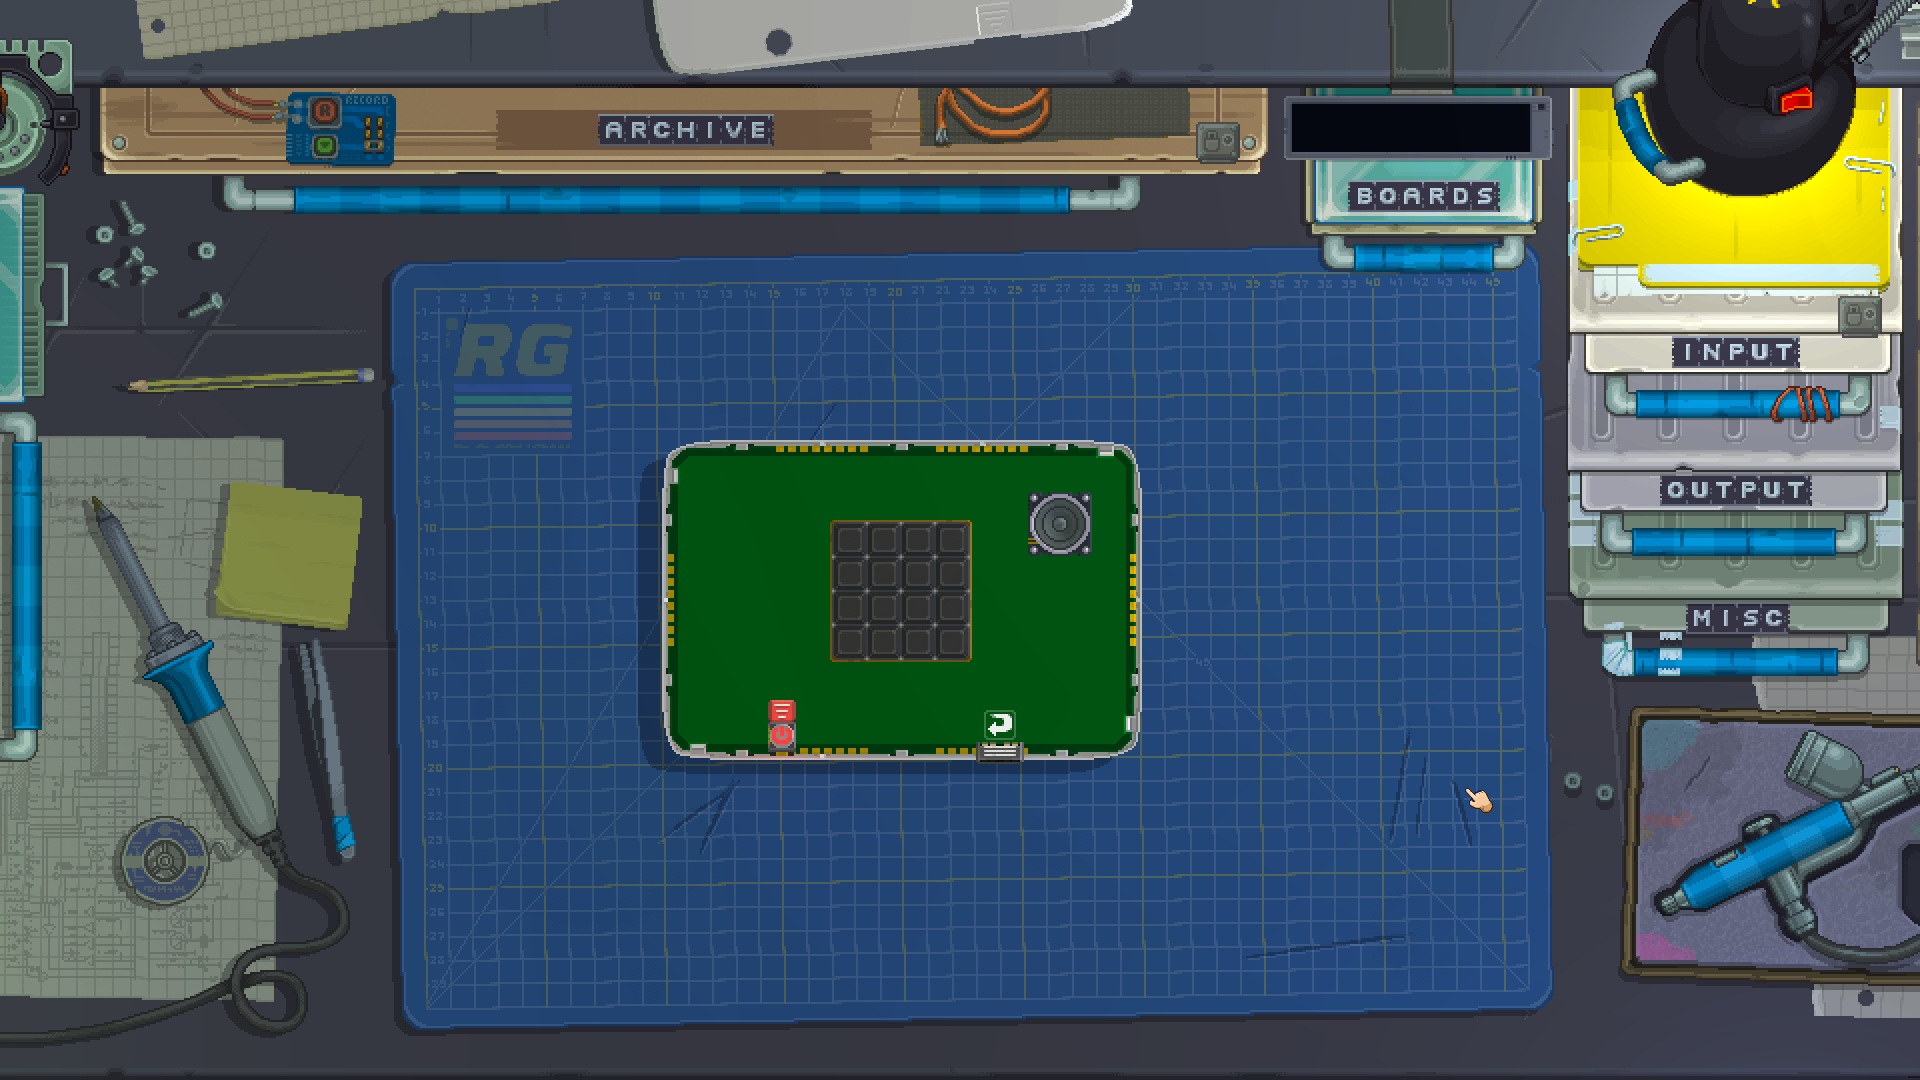
Now, click the little indentation in your gadget's front to open it. From the module drawers, place a Keypad and a Speaker on the front of your board.
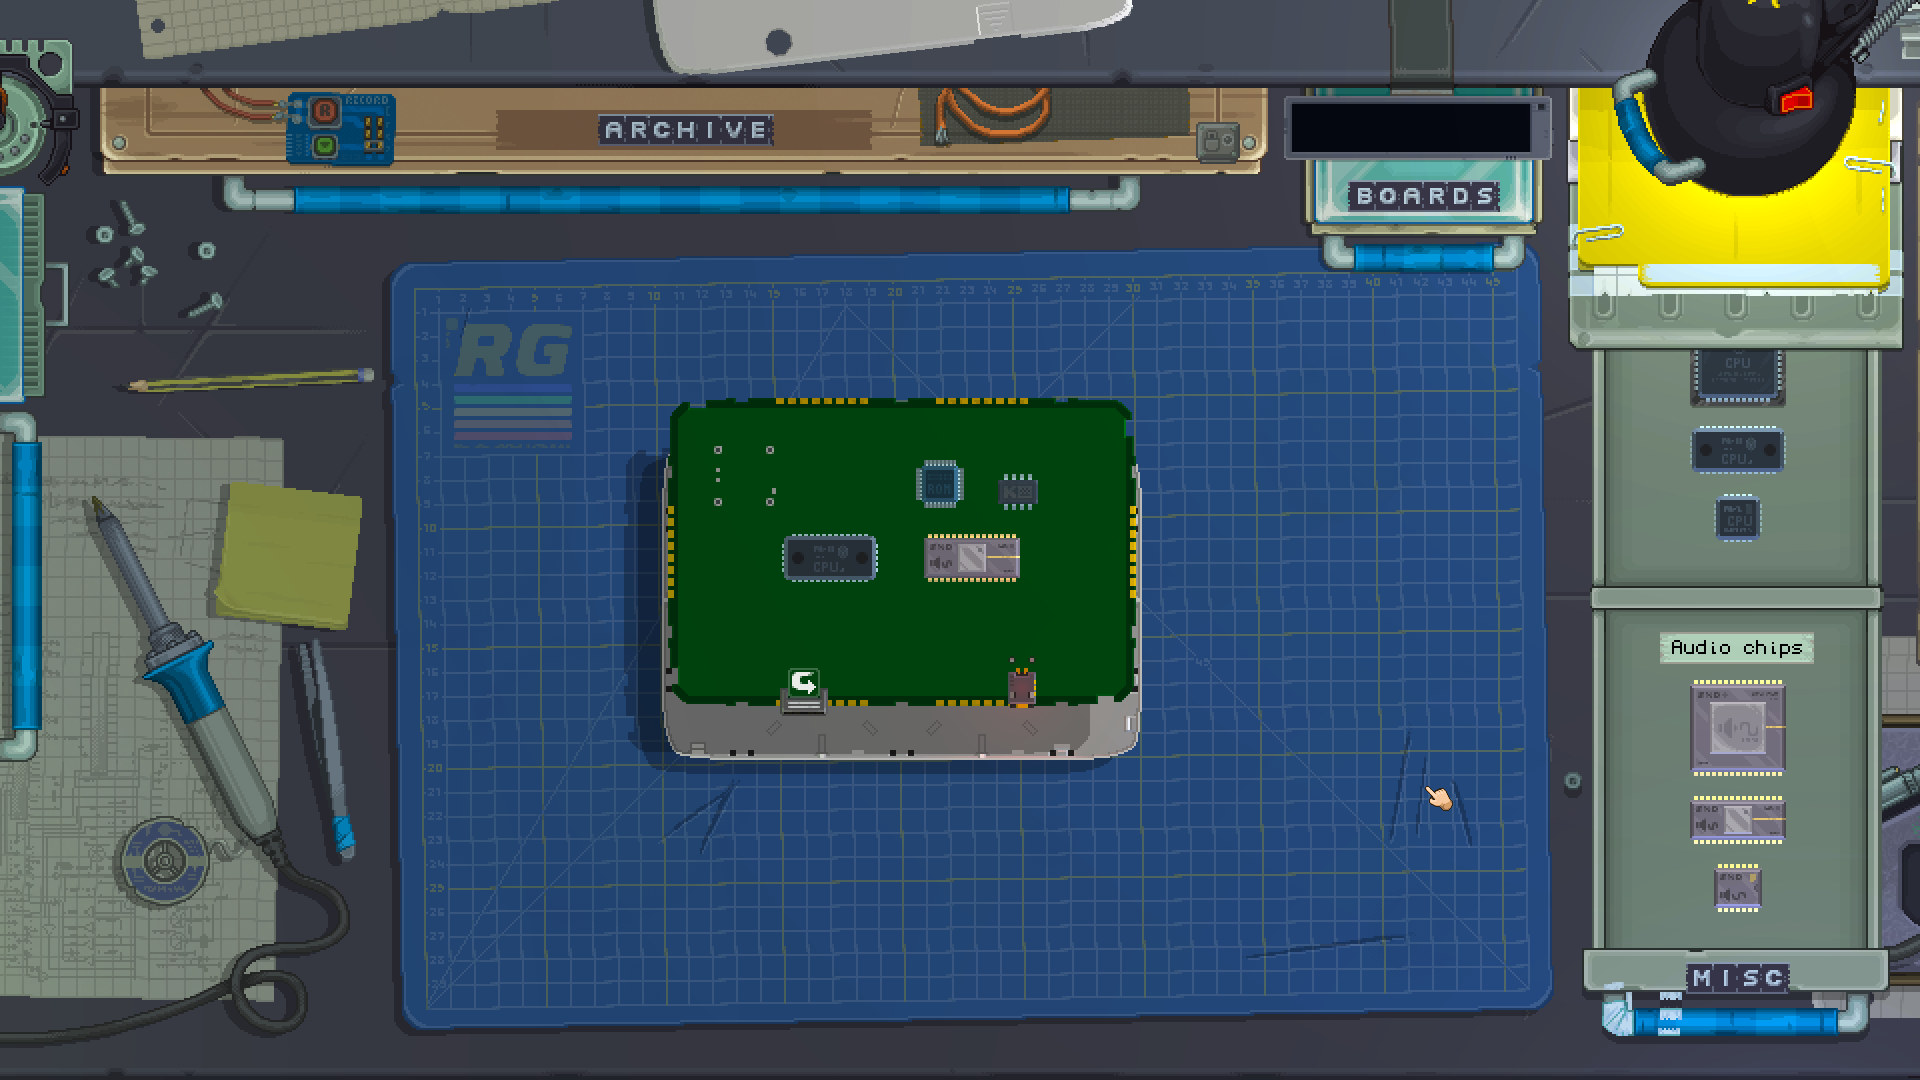
Once you've done that, click on the arrow where the indentation was on your board to flip it. On the back of the board, place a ROM, a CPU, a KeyboardChip and an AudioChip. Make sure the AudioChip is at least the medium size.
Setting up the modules
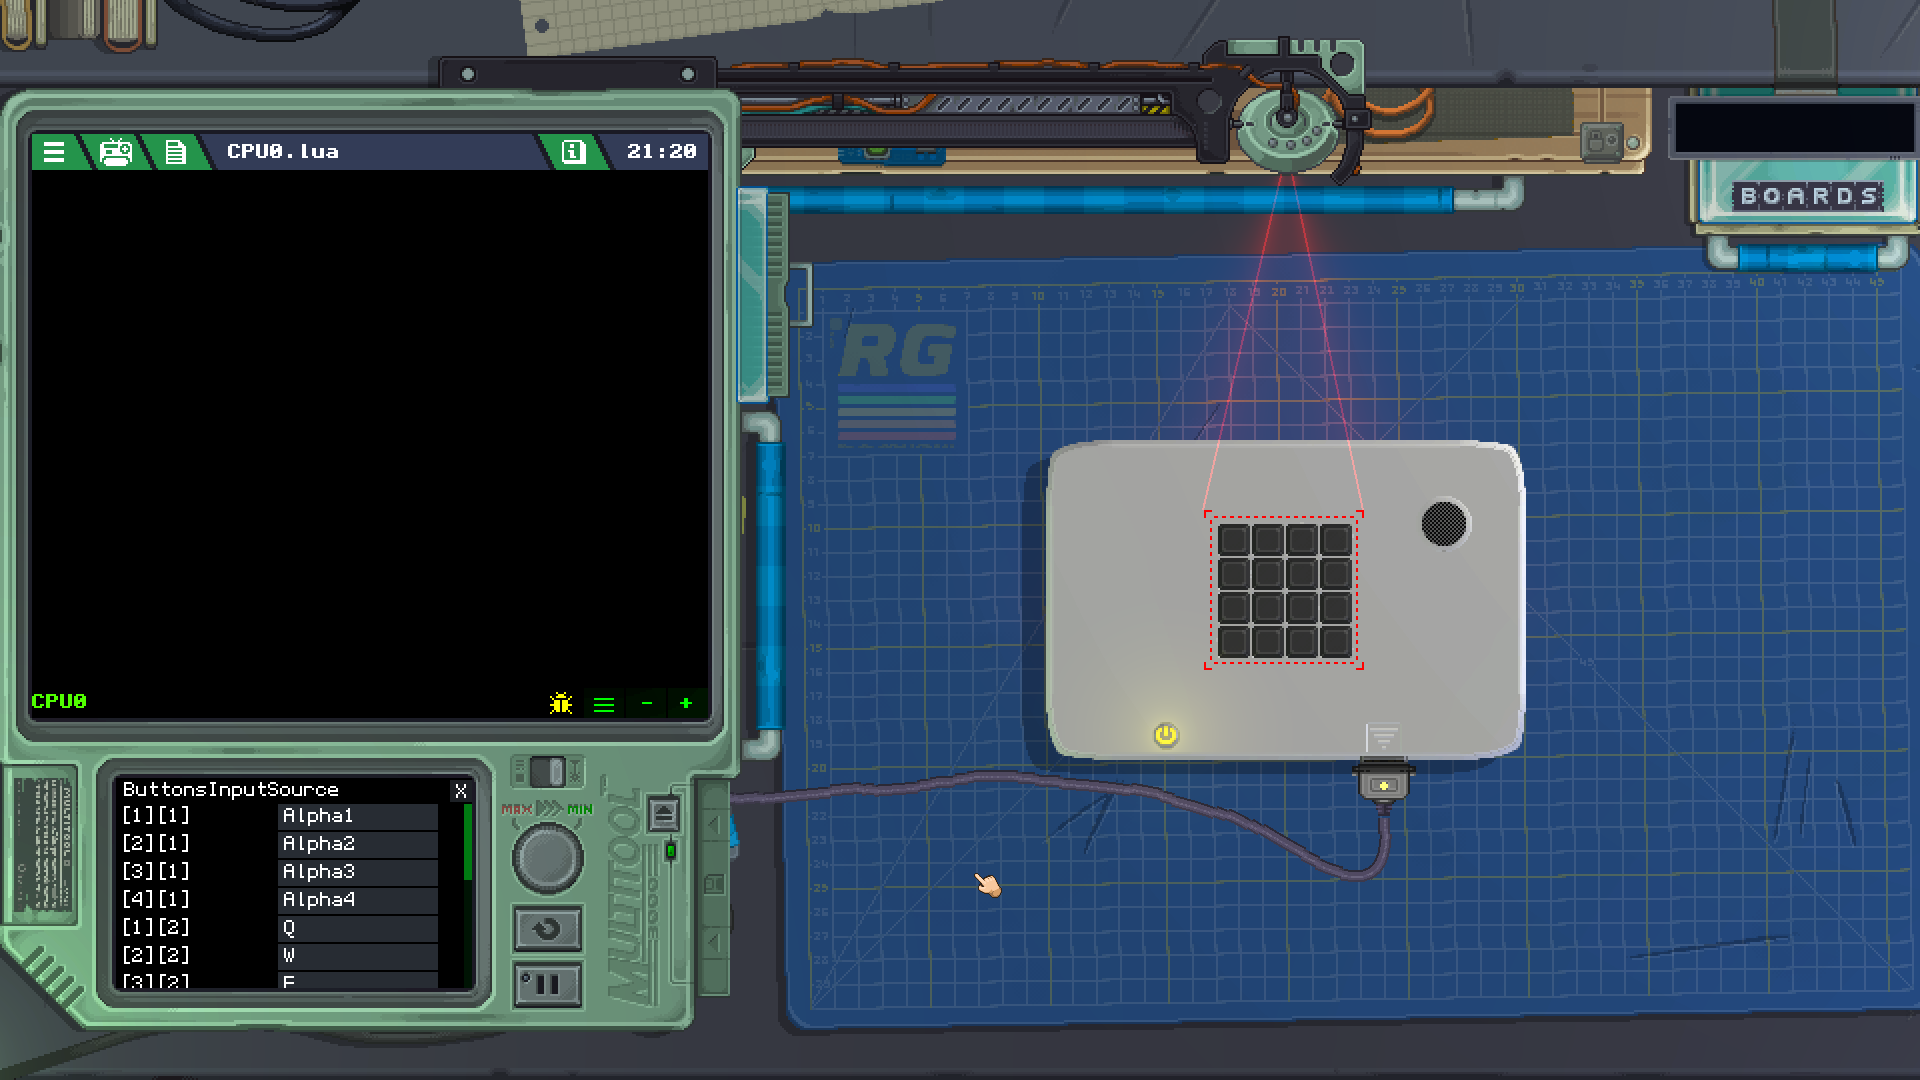
Now that you have all the modules in your gadget, click the shell of your gadget at the top of your screen to close it again. Open the Multitool and click the Keypad on your gadget. At the bottom of the Multitool you should see the module's properties.
In those properties, you can set the ButtonsInputSource of your Keypad, meaning we can give an external input to each one of its buttons. For this example, we are going to set each entry for the following KeyboardChip inputs by clicking on the bottom screen:
[1][1] | Alpha1 |
[2][1] | Alpha2 |
[3][1] | Alpha3 |
[4][1] | Alpha4 |
[1][2] | Q |
[2][2] | W |
[3][2] | E |
[4][2] | R |
[1][3] | A |
[2][3] | S |
[3][3] | D |
[4][3] | F |
[1][4] | Z |
[2][4] | X |
[3][4] | C |
[4][4] | V |
Now that those are set, you can try them out by clicking the PowerButton to power on your gadget and pressing the corresponding keys on your computer's keyboard. You should notice that each one of the keys on the left hand side of your keyboard correspond to the same positions on the Keypad.
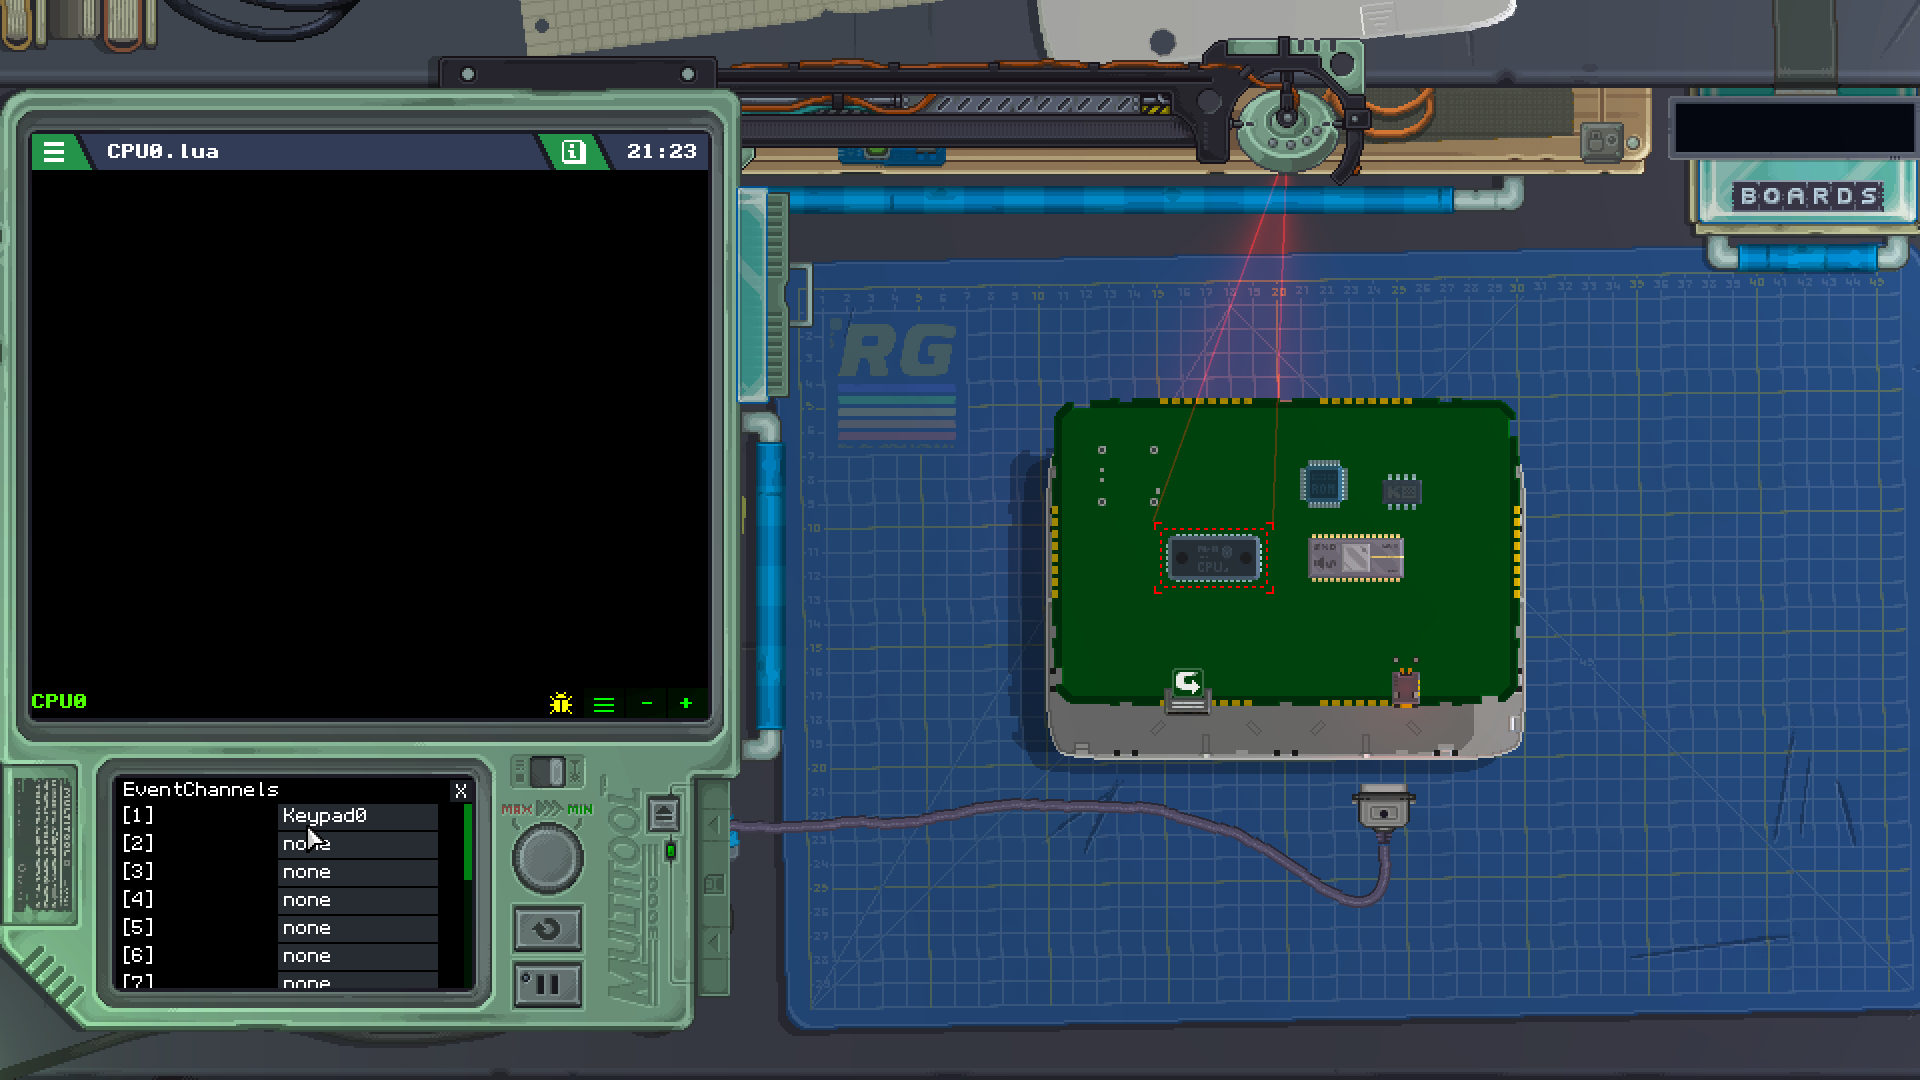
Turn off your gadget, open it back up and flip the board over. With the Multitool still open, click the CPU to set its EventChannels. You want the first EventChannel to point to your Keypad module. Since the Keypad has its inputs also tied to KeyboardChip keys, this event can be triggered both with your keyboard and by clicking the buttons of your gadget's Keypad.
Writing our code
You're now ready to add some code to your gadget! Open the Code Editor by double-clicking the CPU0.lua file in your Asset List. The code is the part of the puzzle that will take inputs from the Keypad buttons, load corresponding samples, then play them through the speaker.
Since we'll be starting from scratch, you can erase the initial boilerplate provided to us to start with an empty code file.
First, we need a table to tell which sample we want to play at each button of the Keypad:
local sampleNames = {
	{"","","",""},
	{"","","",""},
	{"","","",""},
	{"","","",""}
}
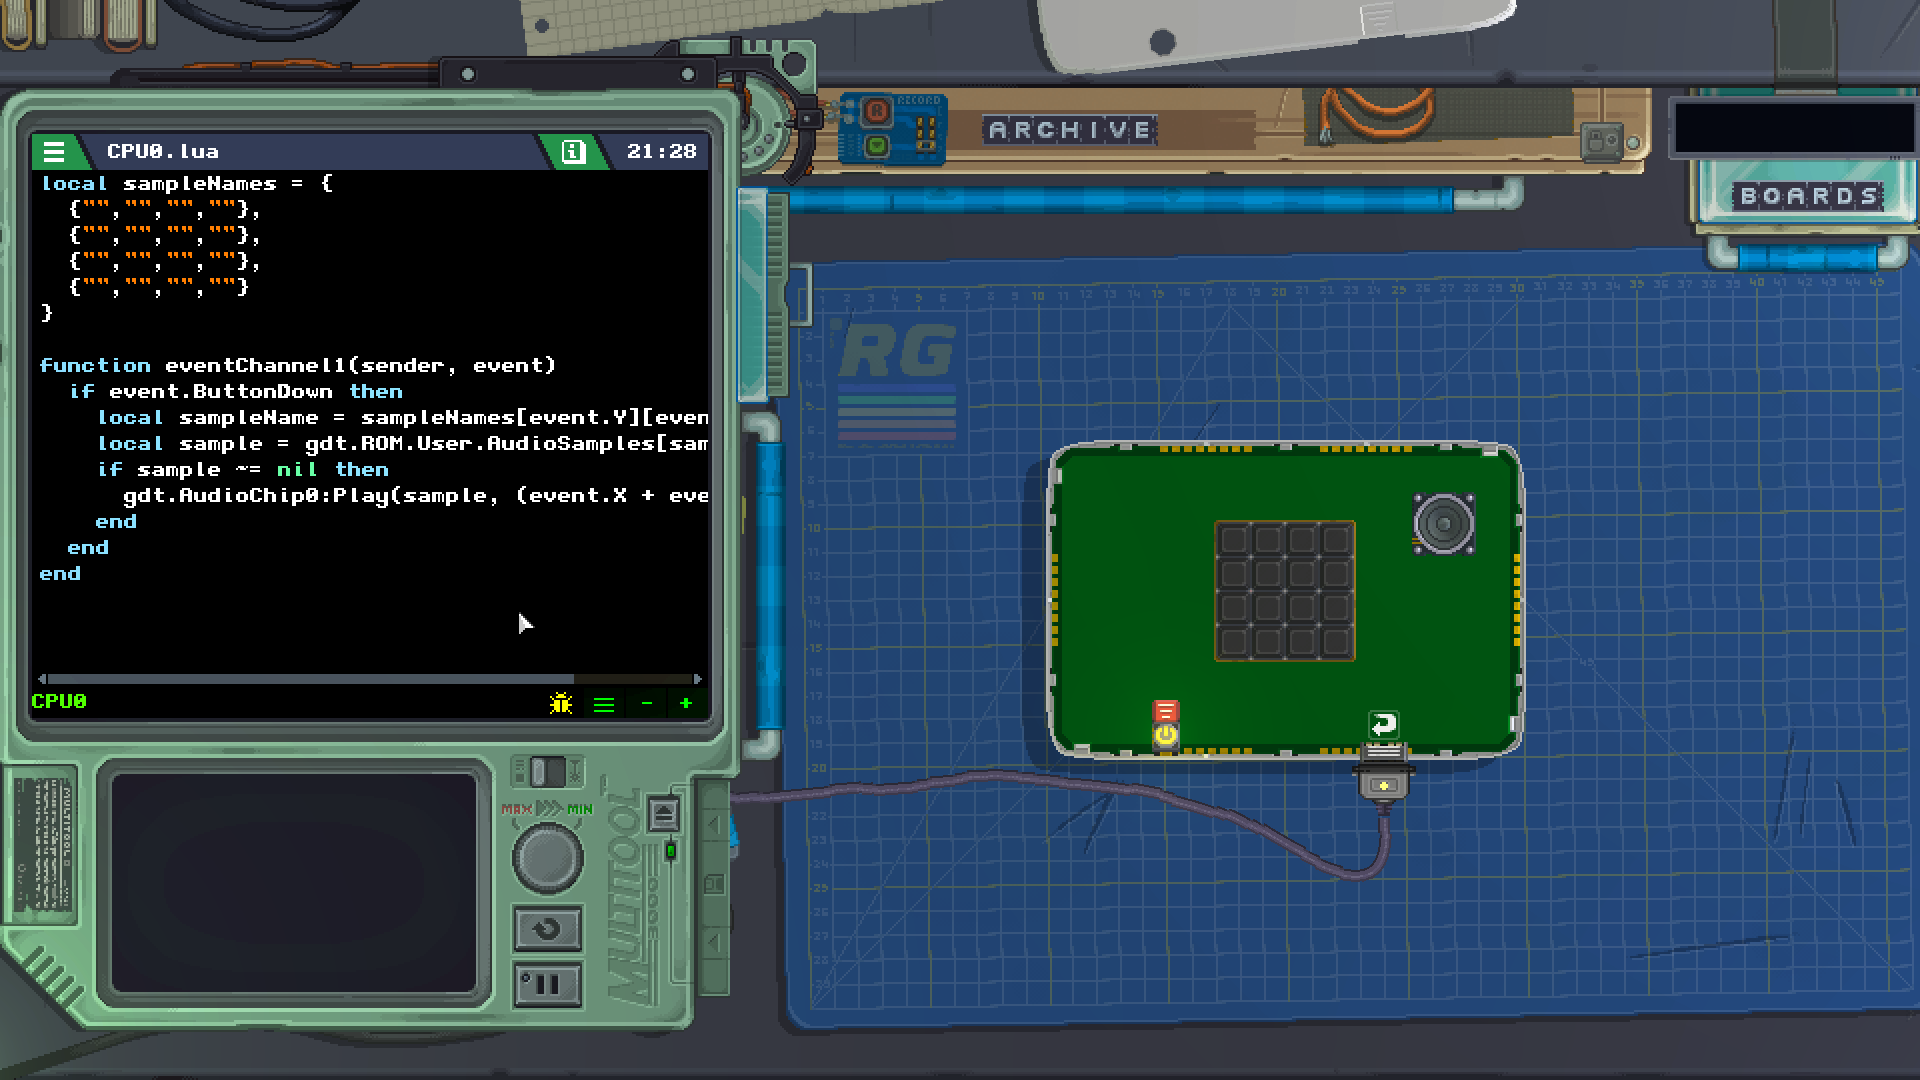
This will make a two-dimensional table with the same size as the Keypad, 4 columns and 4 rows. Right now all our sample names are empty, but we'll change that soon. Then, we'll make a handler for EventChannel number 1, which will handle events incoming from the Keypad.
function eventChannel1(sender, event)

	if event.ButtonDown then -- was the event caused by a button being pressed?

		local sampleName = sampleNames[event.Y][event.X] -- get the name of the sample from our table
		local sample = gdt.ROM.User.AudioSamples[sampleName] -- load that sample from our assets

		if sample ~= nil then -- is the sample we tried to load anything but nil?
			gdt.AudioChip0:Play(sample, (event.X + event.Y * 4)) -- play the sample we loaded
		end

	end

end
In this handler, we are first checking if the event was caused by a button being pressed. The code inside that condition will only run if it's true.
Next, we look into the table we prepared earlier to find which sample name we're supposed to play for this button. We use the X and Y values of the event for that, since they correspond to the column and row of the button that was pressed.
Once we have the name of the sample, we can use the ROM module to load the actual sample.
Next, another condition checks if the sample we tried to load actually exists. If it doesn't, the ROM will return nil, so our condition asks for a value different from that with the ~= logic operator.
After all that, we can ask the AudioChip to play the sample we loaded. Notice the bit of math in the place of a channel: (event.X + event.Y * 4). This will calculate a channel number depending on the column and row of the button pressed, making sure that no two buttons try to use the same audio channel. For that to work, we need to use an AudioChip that supports at least 16 channels.
Adding our assets
The last step we need to do is import some AudioSamples into our gadget so that our sound board has some sounds to play. You can choose any name for your samples when importing them into your gadget, just make sure to note the exact names you give them, including case sensitivity.
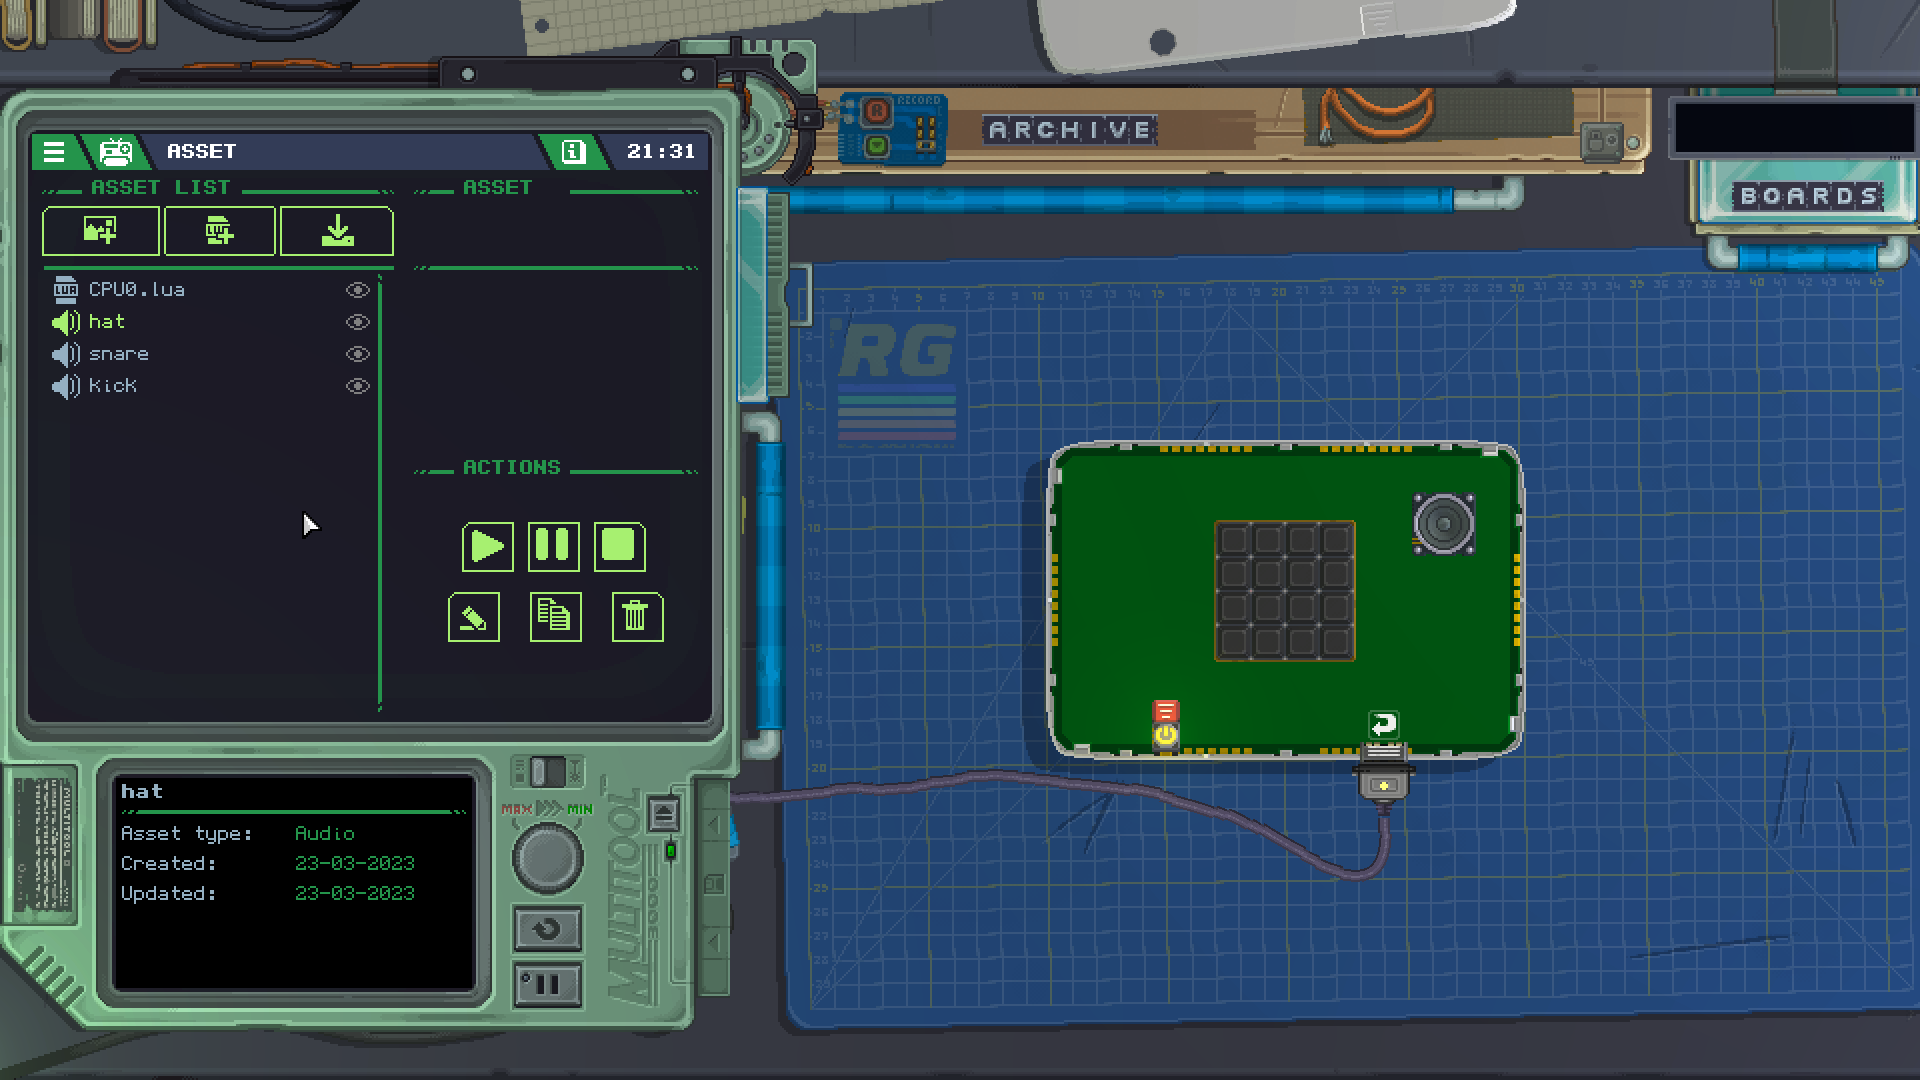
Once you've added those assets, go back to your gadget's CPU code to map them to the Keypad buttons using our table. Note how the table is structured in a way that the position of the sample names in it matches the position of the Keypad buttons. For this example, we used three samples like so:
local sampleNames = {
	{"kick","hat","",""},
	{"snare","","",""},
	{"","","",""},
	{"","","",""}
}

With everything in place, you should be able to turn on your gadget and press those keys to make some noise. Huzzah!
Finishing touches
Once your gadget is complete, you can decorate it however you want, paint it with the Airbrush however you like, and even add stickers to it.
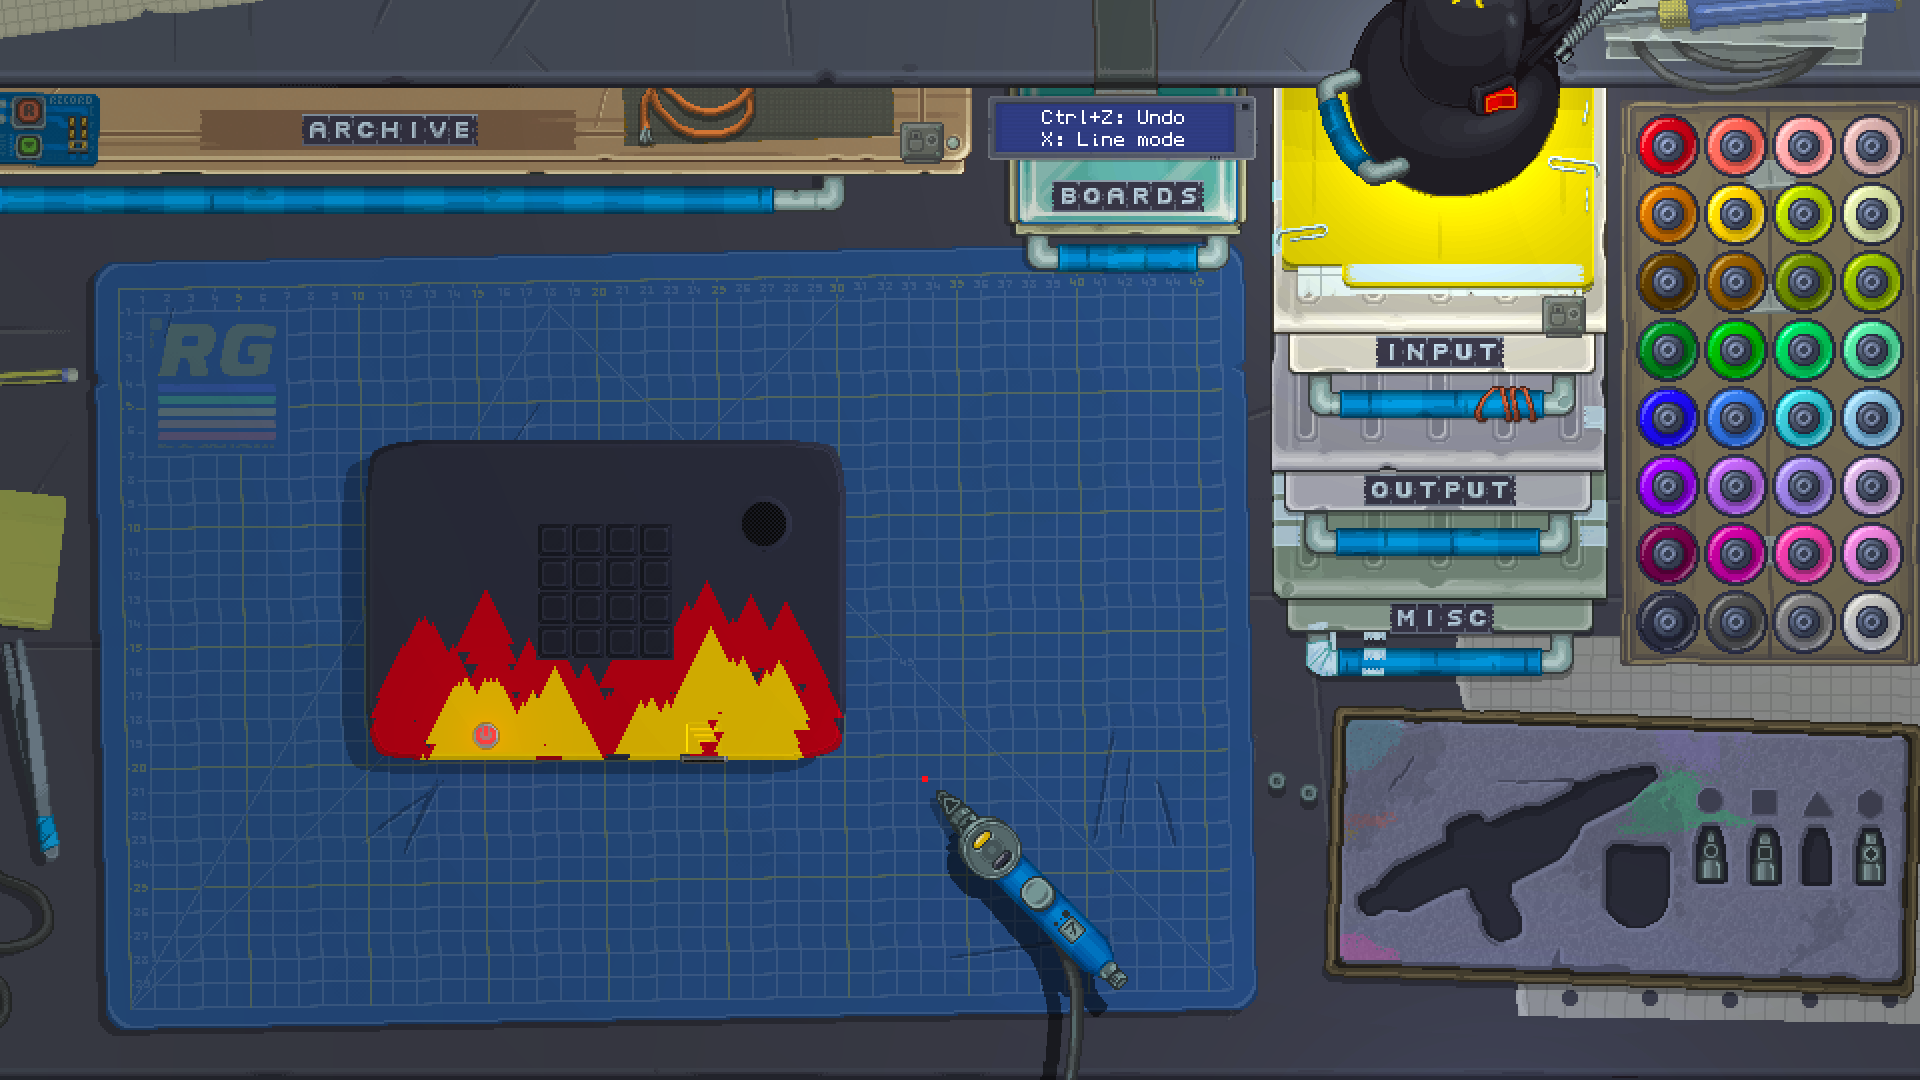
Try adding some LEDs to make your gadget really shine. If you make something really cool, we'd love to see it in our Discord server!