Getting Started
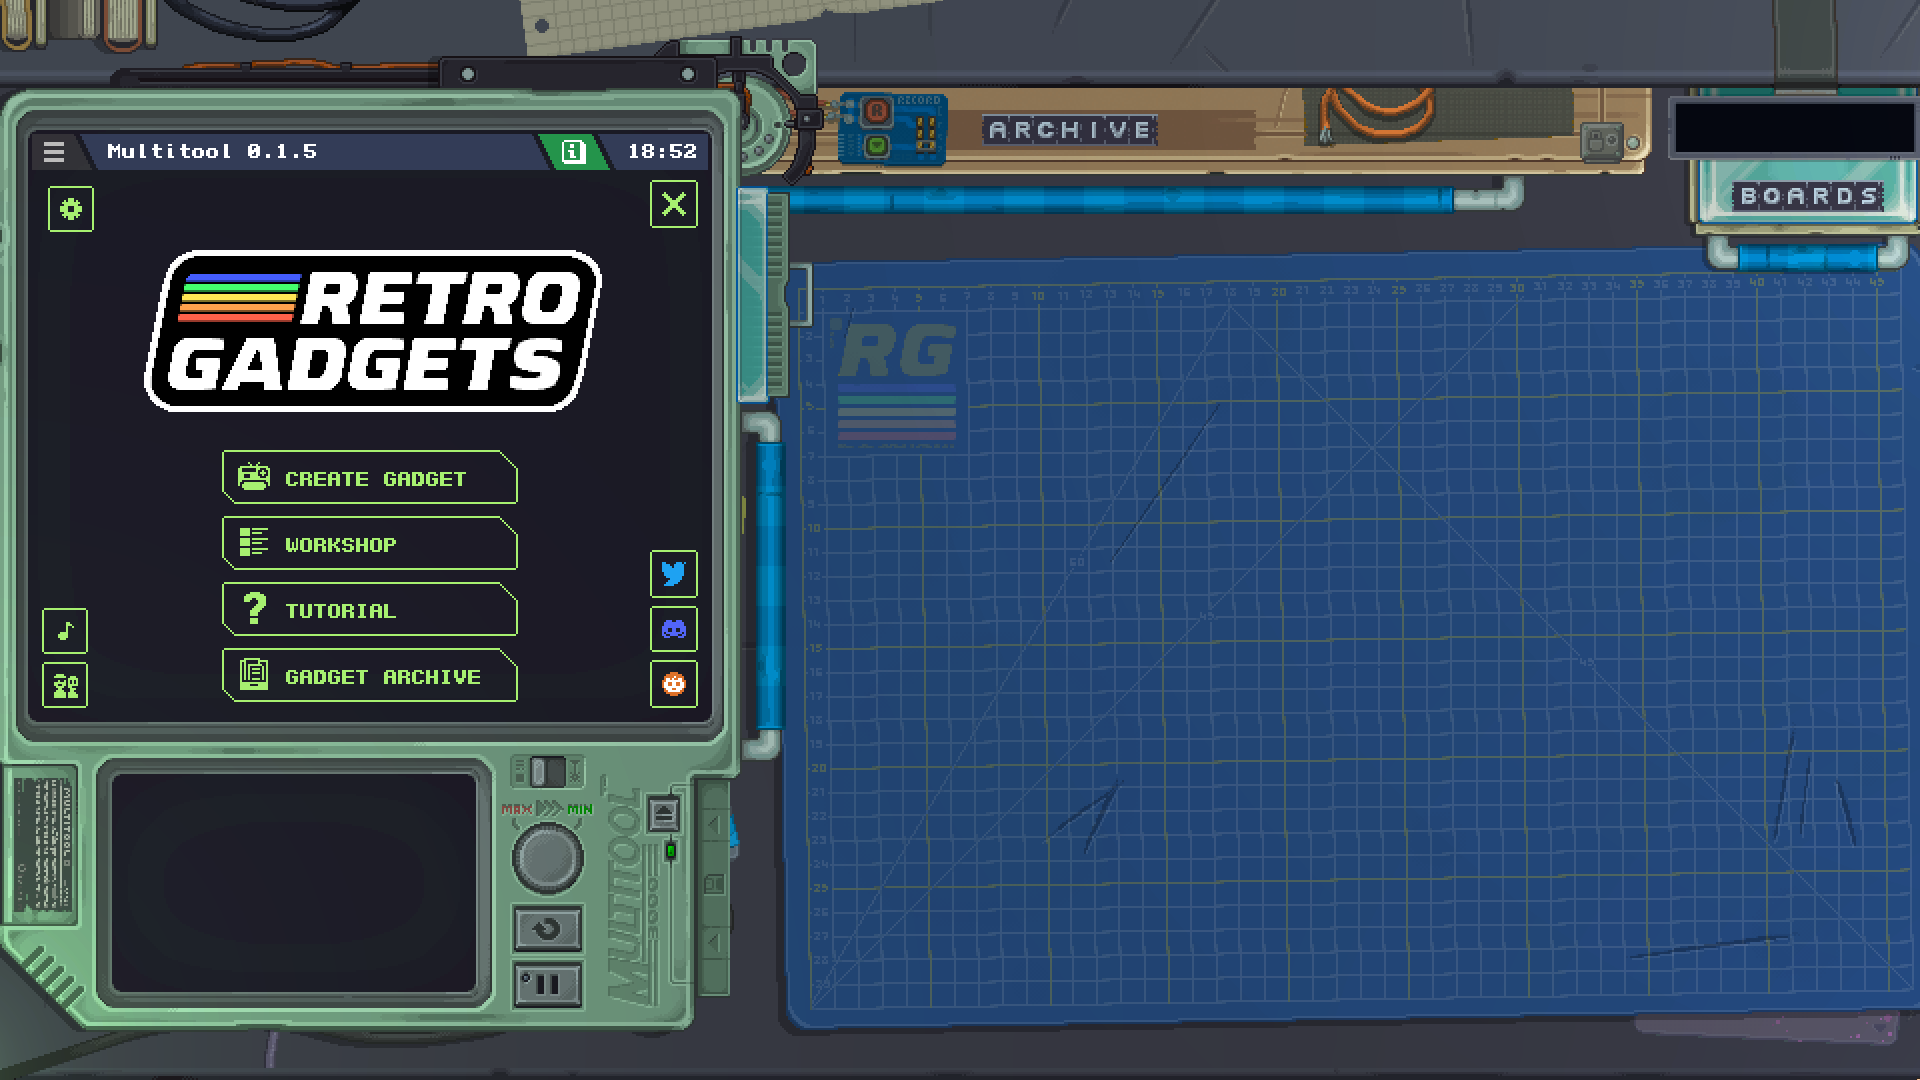
This is the initial view once you start Retro Gadgets. The rest of this document will explain to you the interface and the basics of how gadgets work, but if you want to learn in-depth programming techniques we recommend you check the gadgets under the Tutorial button to see how they were built.
The Gadget Archive button will take you to the folder in your computer where Retro Gadgets files are stored. This will be important for importing assets, creating new cutting mats, among other things.
Your desk
Once you close the Multitool you will see an overhead view of your workbench and your tools. The main drawers and tools at your disposal are highlighted with blue handles.
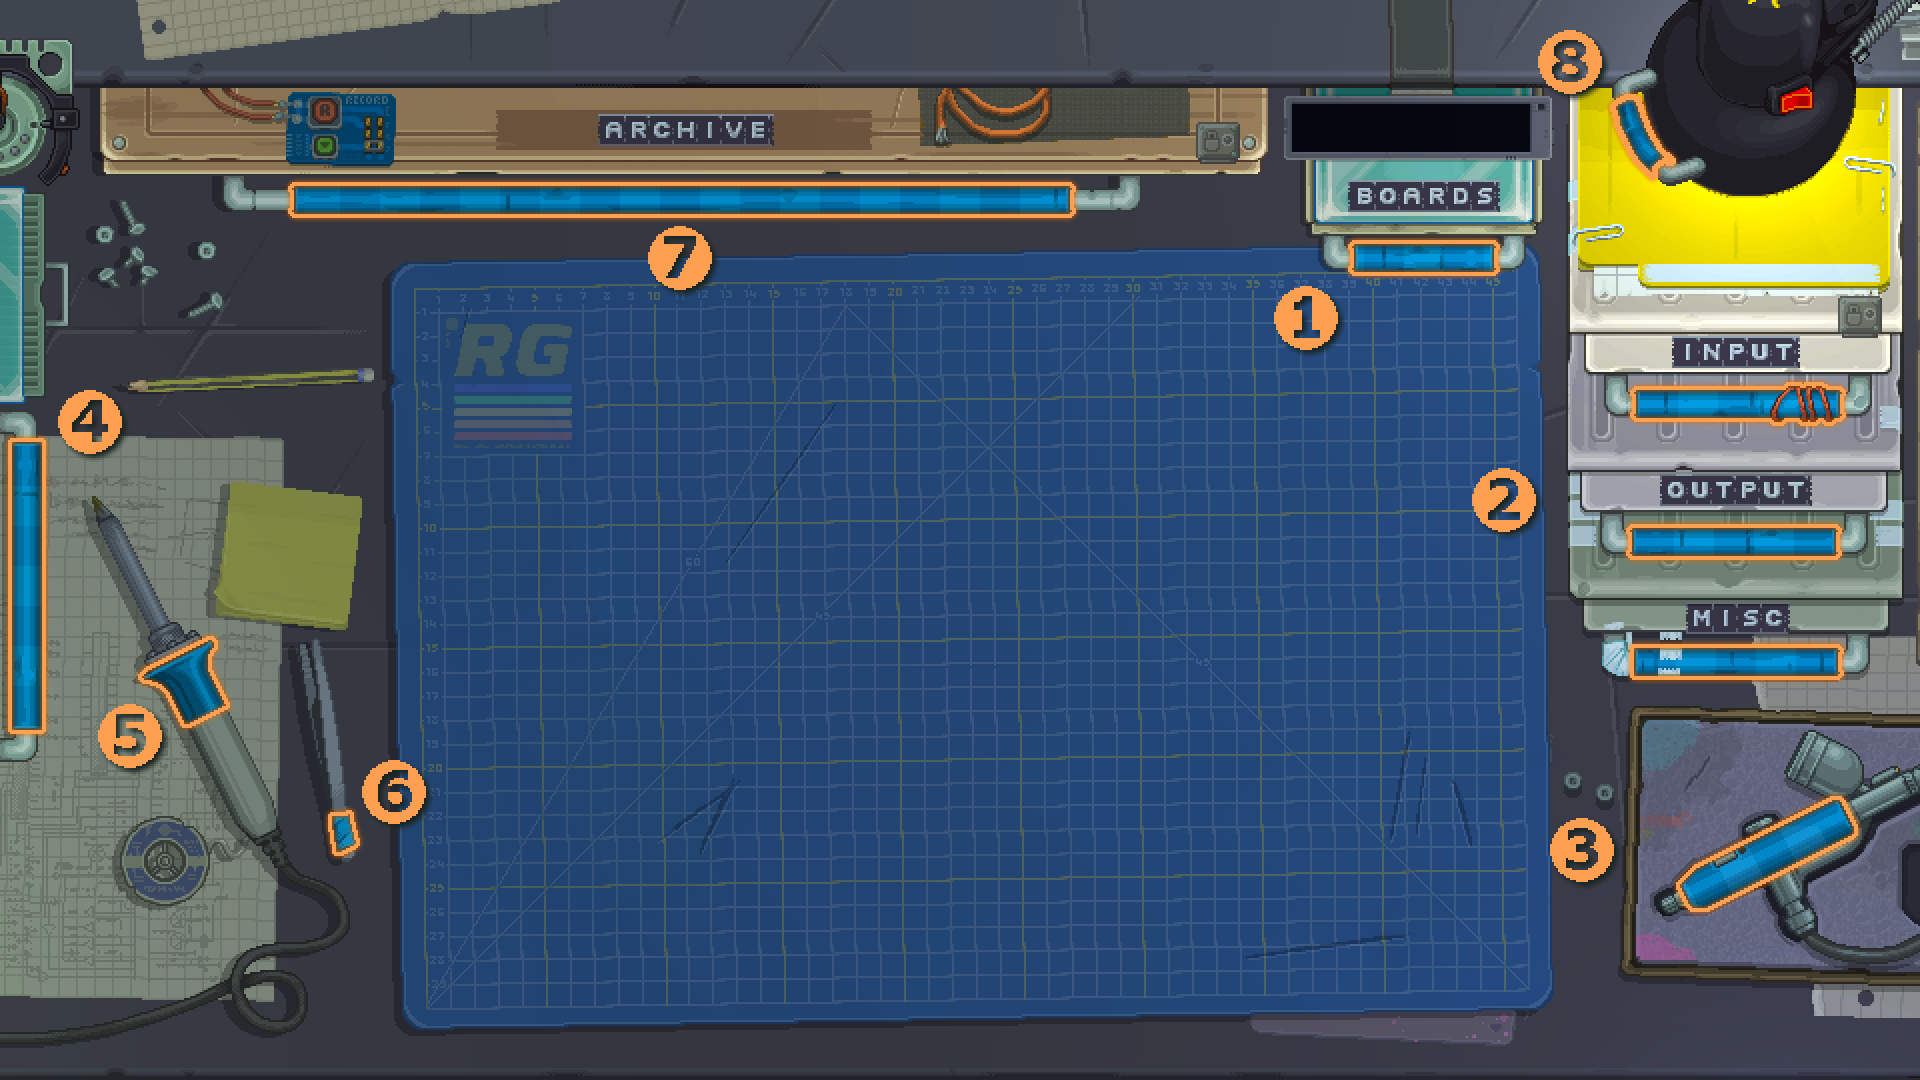
- Boards drawer - Inside this drawer are the parts with which you can build the base for your gadgets, giving them a shape.
- Inputs, Outputs and Misc - Each of these drawers contain their corresponding modules, which add functionality to your gadgets.
- Airbrush - Once you have a shell for your gadget, you can use this to paint it in a selection of colors.
- Multitool handle - This will open and close the Multitool, where you can edit your gadget, its assets and debug your code.
- Soldering iron - Using this tool you can join board parts together to form a bigger gadget, once you've placed them next to each other.
- Tweezers - This tool allows you to move stickers after they're placed down on your gadget.
- Archive - This drawer holds all the gadgets you've built or printed from the workshop, once you put them away from your desk. It also contains some example gadgets included with the game that you can play with, take apart and learn from.
- Desk lamp - No workbench is complete without a lamp to help you see your gadgets! You can use the handle to reposition it, turn it on and off with the switch, and even control it with the desk global methods.
Some of these drawers or tools will become inaccessible while a gadget is currently turned on, this will be indicated with a lock sign or a lid over them.
Once you've familiarized yourself with your tools, check out the FAQ and the Cookbook examples to get started building gadgets!
Minitool

The Minitool is a pager-like device that sits atop your Boards drawer. It can give you information about the things you click in the game, such as the name of modules you select, and you can make it display your own messages from your gadget with the Minitool methods
Cutting Mats
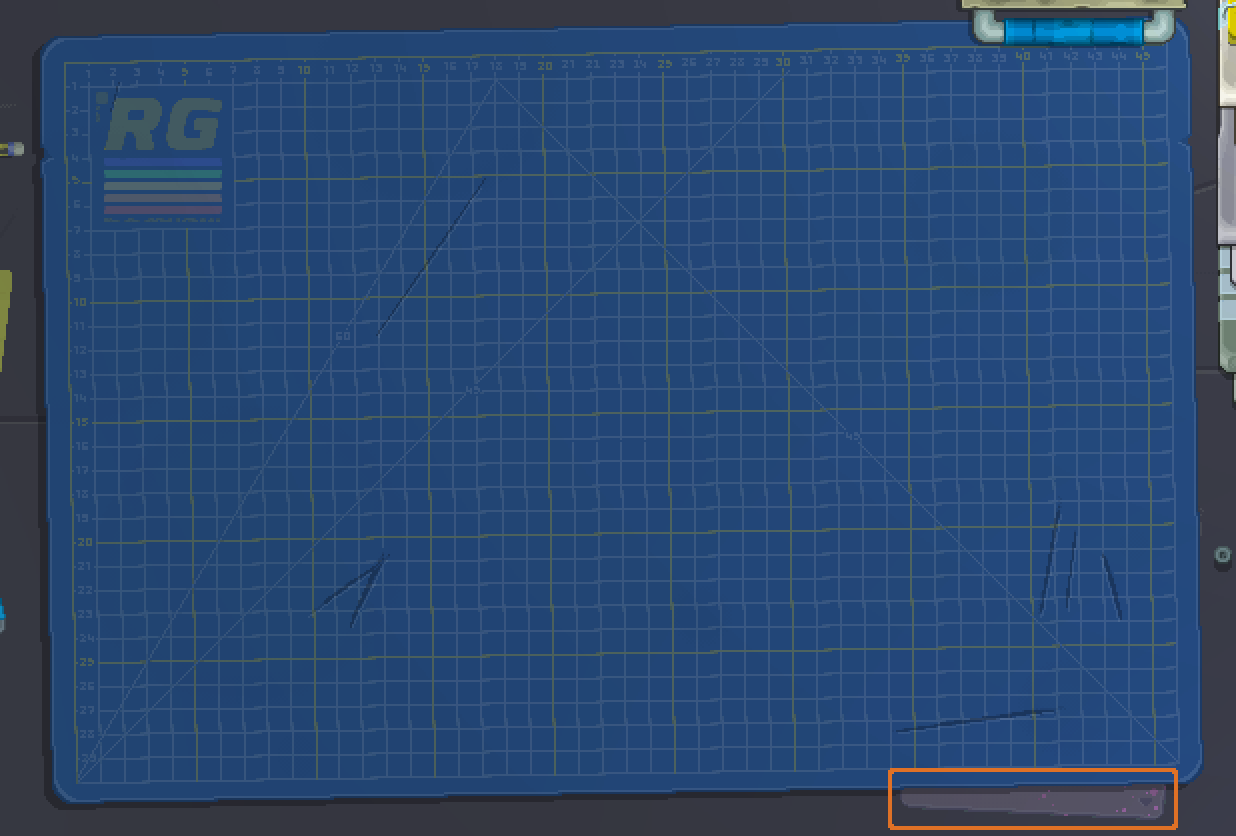
You start the game with a standard blue cutting mat with the Retro Gadgets logo. If you wish to change your cutting mat, you can go into Gadget Archive on the main menu and look into the CuttingMats folder. Inside that folder there is a README file which gives you instructions on creating your own mats and a Samples folder with some different mats ready to be used or modified.
Once you have some custom mats to put into the game, put them inside the Active folder in the cutting mats folder, restart your game, and click on the tab at the bottom-right corner of your mat, highlighted above in orange, to cycle between all active mats. Note this tab is only present if you have no gadgets currently placed onto your mat.
Another thing to note is how Steam Cloud backs up the Retro (Gadget Archive) folder, such that if you're trying to remove a file you must do it while the game is running so that the removed file syncs with Steam when you quit the game. Otherwise, if you remove a file while the game is not running, it will be restored by Steam Cloud when you launch the game again.
Recording Videos
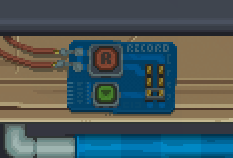
Above your Archive drawer, a small board lets you record your gadget creations into MP4 video files to share with others online. The large red button will start and stop a recording, while the smaller green button below it will open the recording settings, where you can also open the folder where your videos are stored after recording.