Moving Mike
This example will show you how to make a D-Pad control the position of a sprite being drawn on a Screen with a VideoChip.
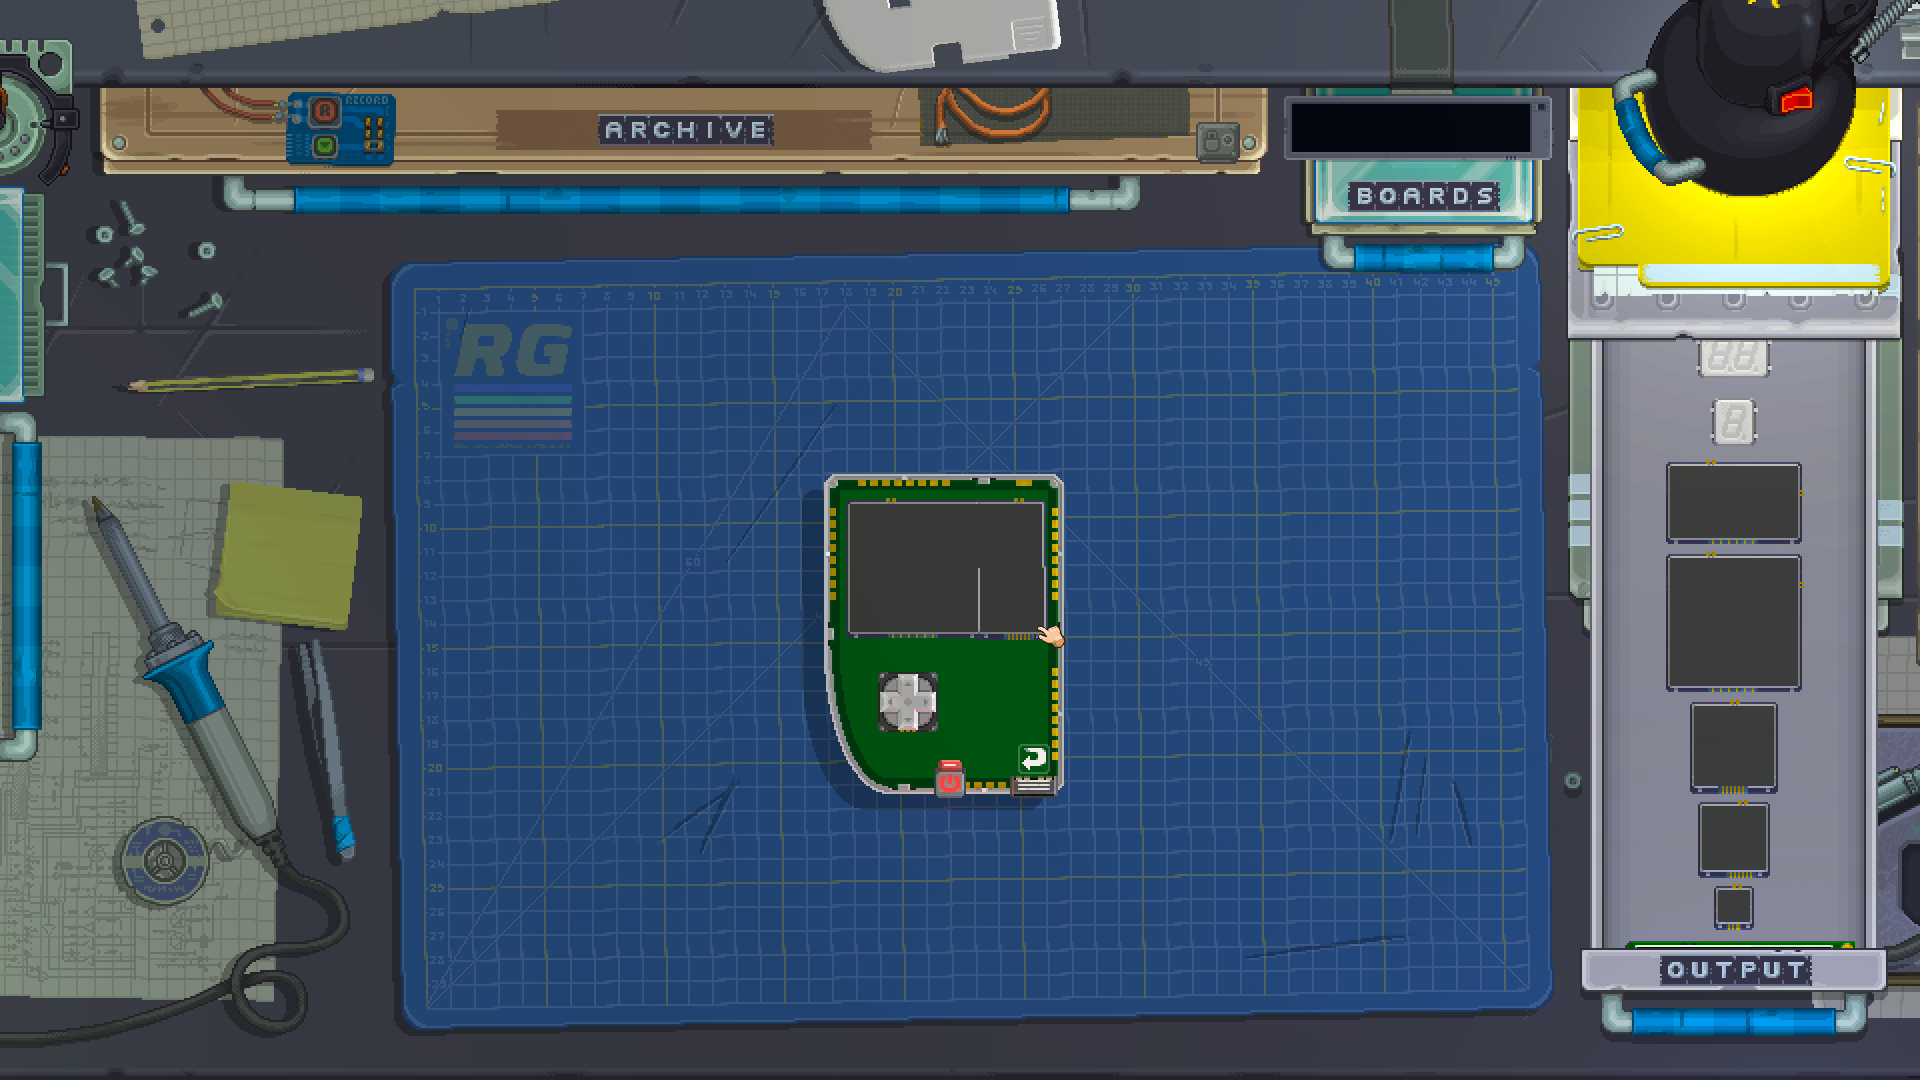
Building the gadget
We are going to place screens and a D-Pad on the front of the gadget. For this example, we're using one large 64x64 screen to the left, joined with two 32x32 screens to make it wider.
Note that with precise positioning you can slightly overlap the edges of several screens together to form a bigger screen. If done correctly, you will see one big screen without the edges in between. The example below shows the smaller screen at the top right correctly positioned, and the bottom right one needing adjustment to the left to join properly. You can hold the left shift key to zoom in on your desk for higher precision.
Once you have those modules ready, go ahead and add a CPU, a KeyboardChip, a VideoChip and a ROM to your gadget as well.
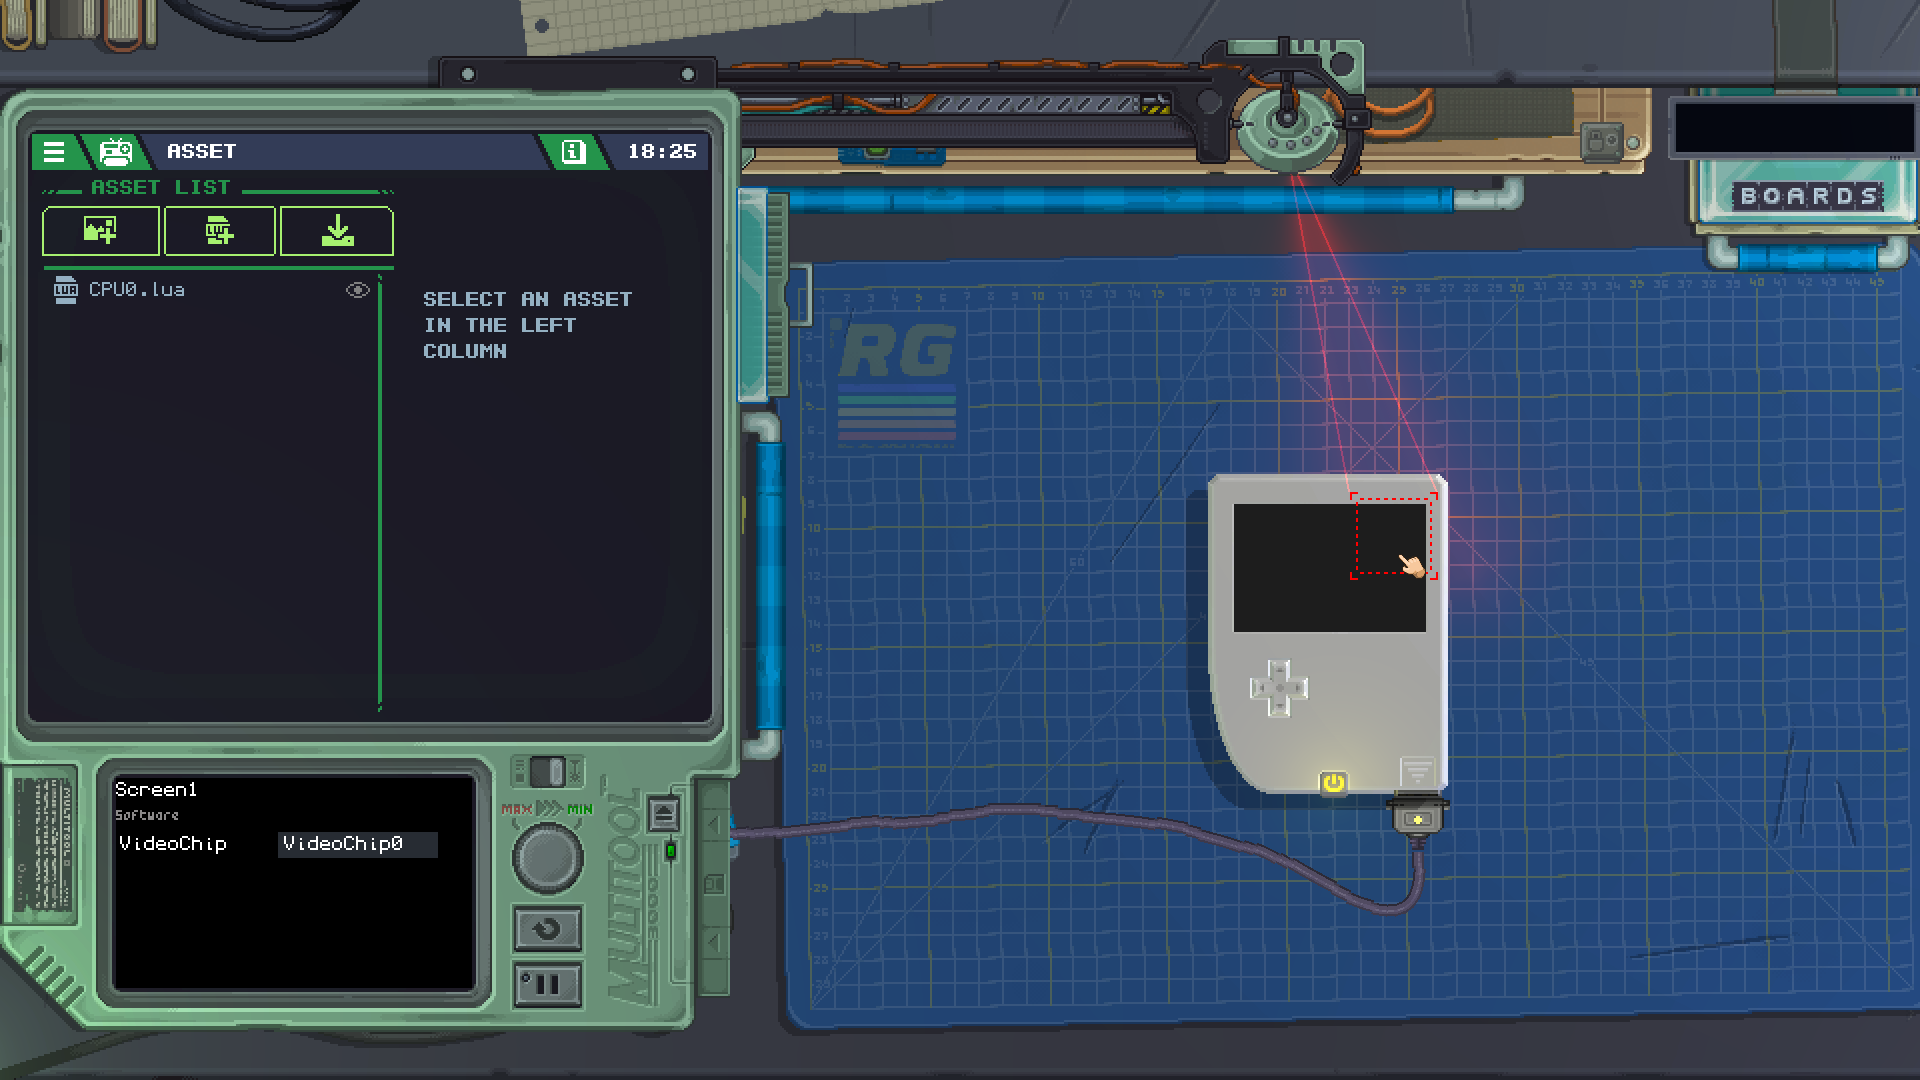
Setting up the modules
Despite being visually joined together, each screen still needs to be connected to a VideoChip. Since we want all of our screens to be part of the same display, we need to connect each one of them to the same VideoChip with the Multitool.
Once you have those done, you should set up the D-Pad to use KeyboardChip InputSources and the CPU to take events from the D-Pad in channel one, exactly the same way we've done previously in the Collect the Dot example.
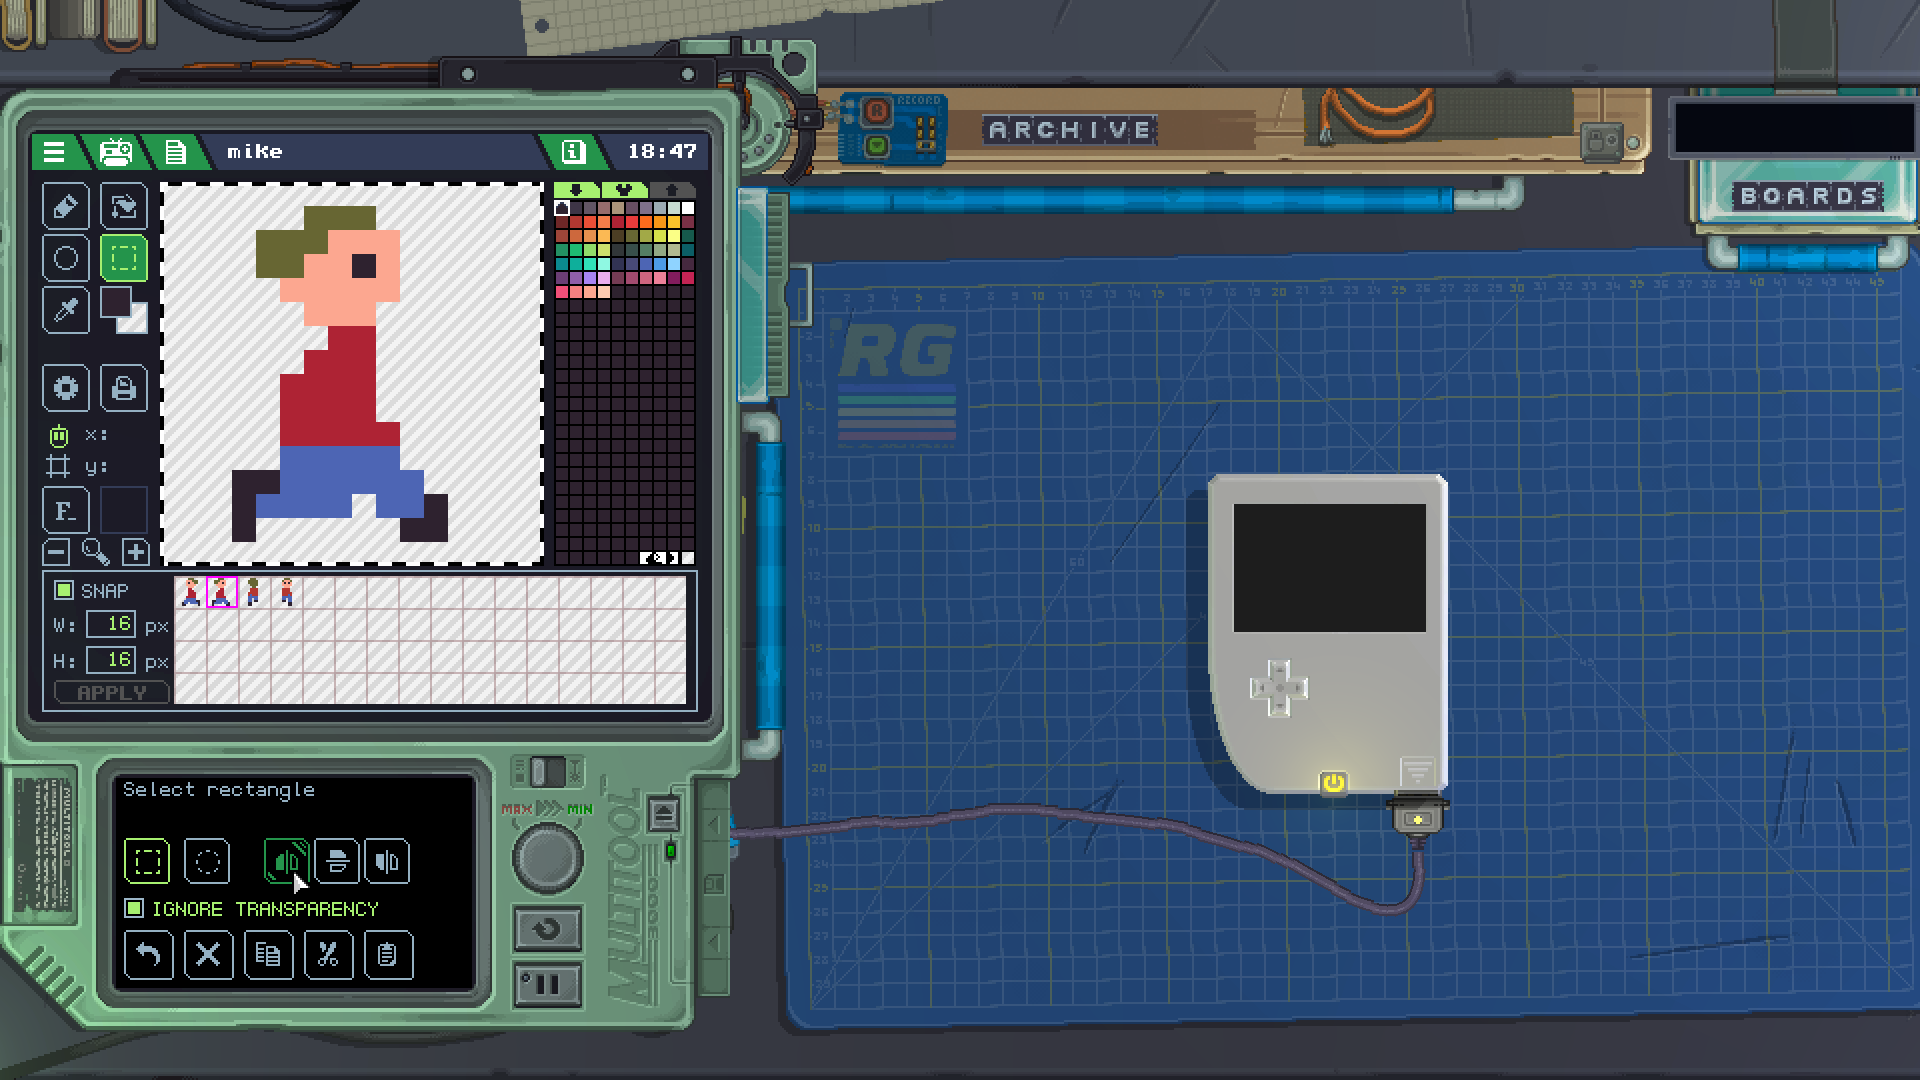
Making our assets
At the Asset List, we can click the first button to create a new SpriteSheet with the built-in Sprite Editor. For this example we'll be naming the asset mike exactly.
By default the editor will be set up to draw 16x16 sprites, we can use that as it is. Draw 4 sprites for our main character Mike, facing left, right, up and down, respectively. Remember you can use the selection tool to copy and flip sprites to make your job easier.
Writing our code
The code part of this gadget will be very similar to the one in the previous example, Collect the Dot. First, our module shorthands:
local pad:DPad = gdt.DPad0
local video:VideoChip = gdt.VideoChip0
local mike:SpriteSheet = gdt.ROM.User.SpriteSheets["mike"]
Here we are loading the mike SpriteSheet into a variable called mike so we can easily use it later.
Then, we'll store some values for the player:
local playerX = 0
local playerY = 0
local direction = 0
local stepSize = 5
The playerX and playerY variables work the same as before, but since the VideoChip buffer starts at 0, we can use those values instead of 1.
The direction value will remember which way we want Mike to face, that is, which sprite in his SpriteSheet we need to display.
The stepSize value will be used as how many pixels we want our sprite to move each time we press a direction.
The next part of the code will update our display:
function updateDisplays()
	-- clear the screen with white
	video:Clear(color.white)

	-- display mike's sprite
	video:DrawSprite(vec2(playerX,playerY), mike, direction, 0, color.white, color.clear)
end
First thing when calling the display update, we are clearing the video display so we don't keep whatever was on it previously. We are clearing with color.white which means the entire screen will be filled with that color.
The DrawSprite method might look daunting, but it can be easily broken down into each of its arguments:
- First, we are telling it we want the sprite to be put into the
vec2coordinate ofplayerXandplayerY - Then, we are telling that the SpriteSheet we want to use is
mike - The next two ones,
directionand0tell which sprite within the SpriteSheet we want to display. These two values are the horizontal and vertical position in the grid we can see while in the Sprite Editor. In the starting values, this means to pick the very first sprite, which is Mike facing left. - The next value is which color to tint the sprite with. We don't want to affect its color, so we use
color.white. - Last, this value is which color to replace the sprite's transparency with. We want it to be transparent, so we use
color.clear.
Once you have that function in, add a call at the end of your script so that it runs once when your gadget is turned on:
updateDisplays()
At this point, you can turn on your gadget and see the display shows Mike on the top left corner, facing left.
Now, we'll be controlling the movement of the sprite with a D-Pad event handler very similar to the one used in Collect the Dot:
function eventChannel1(sender, event)
-- i only want to run if the dpad changed to pressed, not released
if event.X ~= 0 or event.Y ~= 0 then
if event.X < 0 and playerX > 0 then
-- moving left
playerX -= stepSize
direction = 0
elseif event.X > 0 and playerX < video.Width - 16 then
-- moving right
playerX += stepSize
direction = 1
end
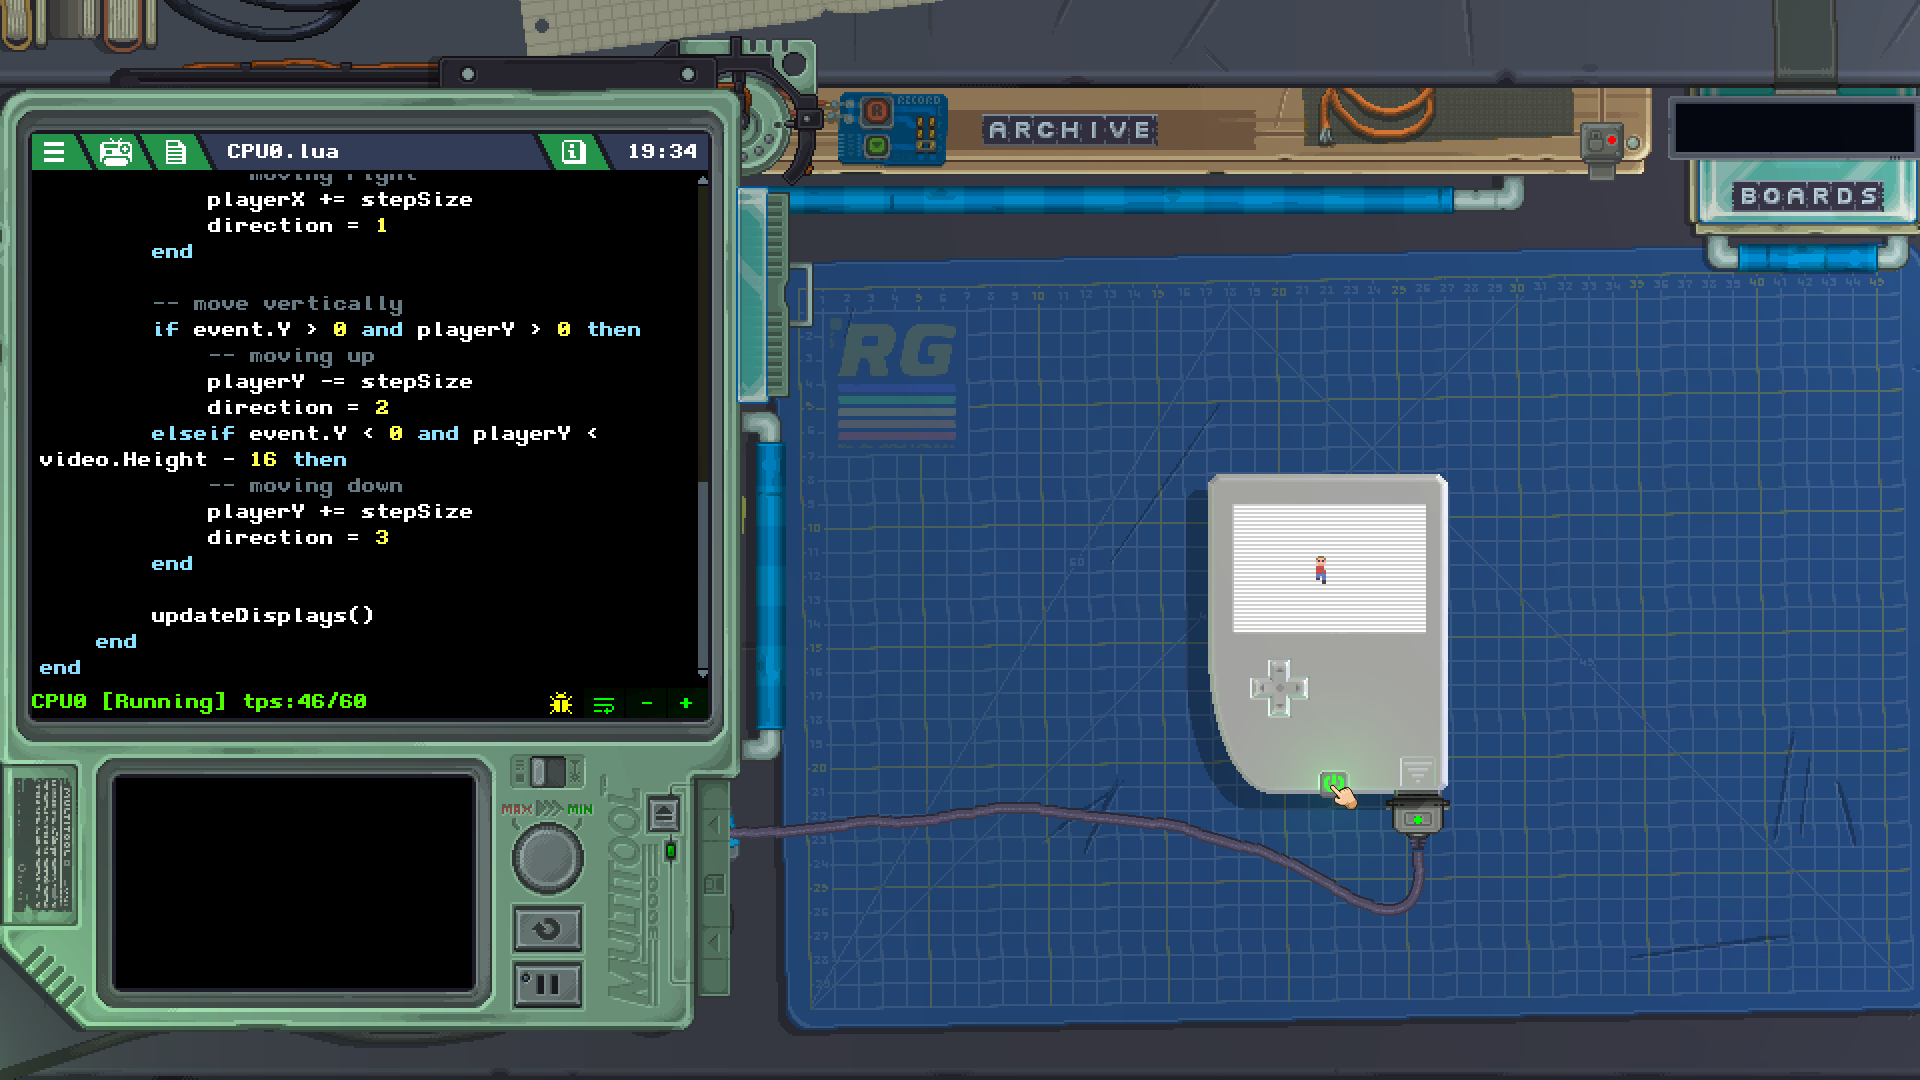
-- move vertically
if event.Y > 0 and playerY > 0 then
-- moving up
playerY -= stepSize
direction = 2
elseif event.Y < 0 and playerY < video.Height - 16 then
-- moving down
playerY += stepSize
direction = 3
end
updateDisplays()
end
end
The main differences in this code is that now for up and left movement we are checking if the player is above coordinate 0 in either way instead of 1, and for the other edges moving right and down we are checking against the Width and Height properties of the VideoChip. Those properties will return the size of the screen taking into account all of the screens connected to the same VideoChip, so we don't need to keep track of how big our screen is by hand. Also, we are subtracting 16 from those values since that's the width and the height of our sprite, otherwise the sprite would be allowed to travel beyond the bottom right edge of the screen.
On each movement, we are increasing or decreasing the player's coordinates by a value of stepSize. This way if we decide to change by how much the sprite should move at each press of the button, we can change a single variable instead of having to change it each time it appears in our code.
And lastly, when moving our character, we are changing the direction value to correspond to each different sprite in our SpriteSheet, so that when the screen gets updated Mike will be facing the direction we are moving him in.
Now you know the basics of how to move a sprite on the screen!
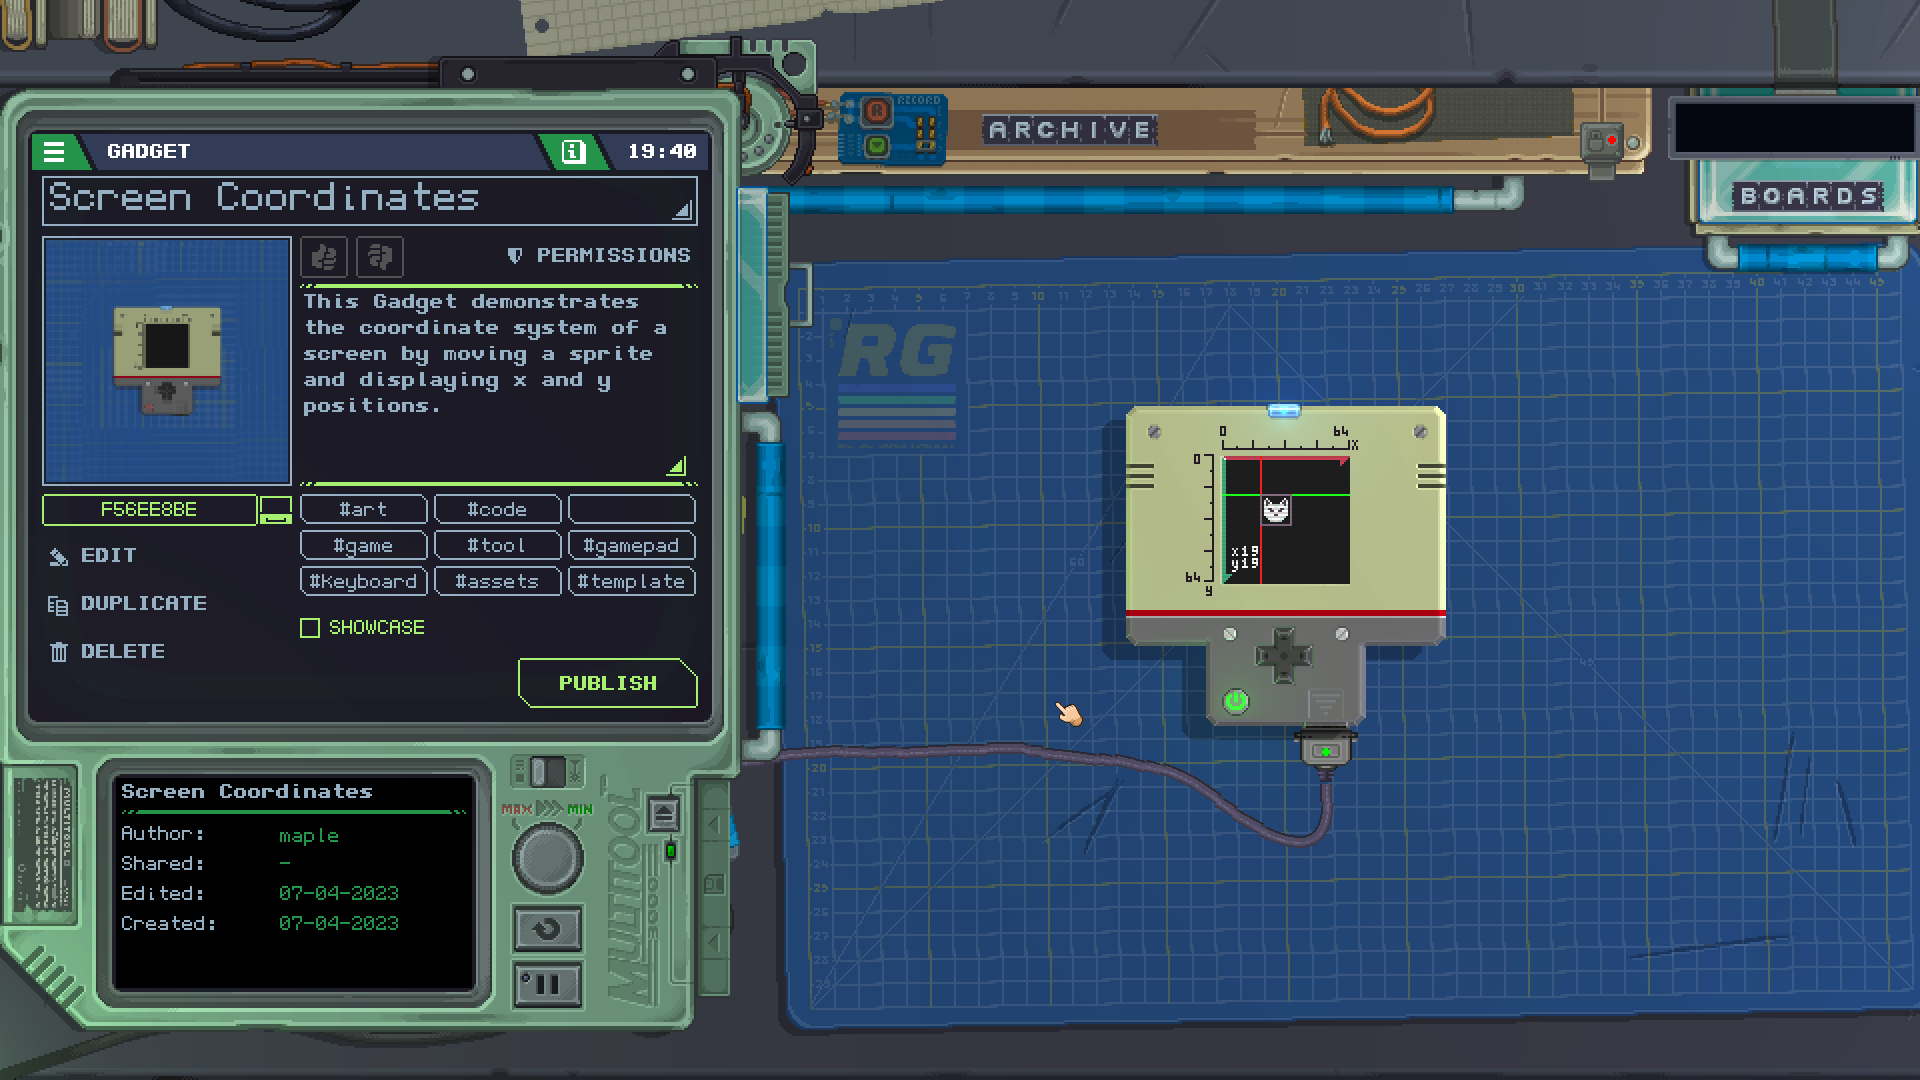
Conclusion
A very similar built-in gadget you can look at is Screen Coordinates, which you can find in the Tutorial section in the main menu of the game. The method used to move the sprite is different, reading the D-Pad inside the update() function instead of events, so you might want to read the code and see how it works!