Airbrush

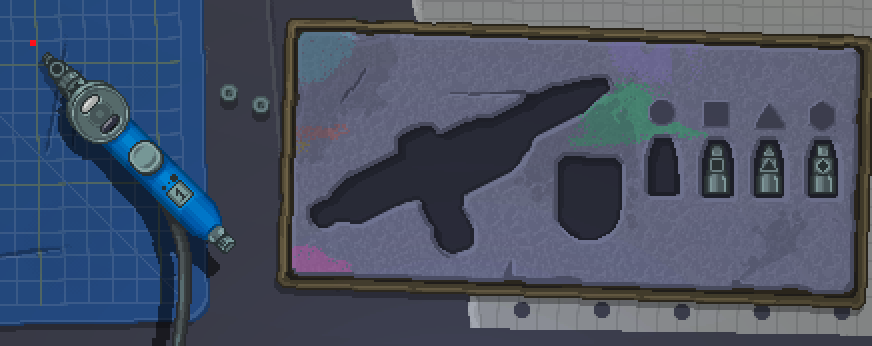
The Airbrush tool allows you to paint gadget shells and modules. Once you click on it in the bottom right corner of your desk, the camera pans to present you with all the options such as colors and different nozzles. Like the other tools and drawers, the Airbrush is only available while your gadget is powered off, this is noted by the toolbox being closed with a lid while it's on.
Using the Airbrush

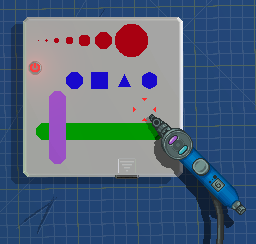
When the Airbrush is active, it will follow your cursor with a red marker indicating where your are pointing. This marker will change in shape and size depending on the nozzle, size and mode you are currently using.
To change the size of your brush, scroll up and down with your mouse wheel. The size will be indicated both by the red marker and by a number on the handle of the Airbrush. To change the nozzle shape, simply click on them in the Airbrush's tool box to pick them up. Pressing X will toggle between locking to horizontal and vertical line modes, before returning to regular freehand mode. You can hold down the left shift key to zoom into your gadget for precision. You can also press Ctrl-Z to undo each paint stroke.
To select a color for your Airbrush, simply click on an ink bottle on the right. You can click with the right mouse button to select a secondary color. This color will be used if you paint with the right button instead of the left button.
You can also use stickers as masks for painting over. By placing a stencil sticker on your gadget, painting over it, then removing the sticker with the tweezers, you'll note the shell won't be painted where the sticker was sitting.
Certain modules can be painted with the Airbrush by clicking directly on them, and some modules also have a secondary color that can be set. For example, painting the Keypad with the left click will paint the bezel around the buttons, while painting it with the right click will paint the buttons themselves.
Once you are done using the Airbrush, simply click on its empty spot in the tool box to put it away.