Collect The Dot
This guide will show you how to move two single dots around a LED matrix, with some simple logic to increase a counter whenever the "player" dot reaches a "target" dot.
Building the gadget
Since we already covered in greater detail how to build a gadget in the previous example, we'll go over this part more succinctly. You'll need a LED matrix, a 2-digit segment display for our counter, and a D-Pad in the front of your gadget. For functionality, you'll need a KeyboardChip and a CPU somewhere in your gadget.
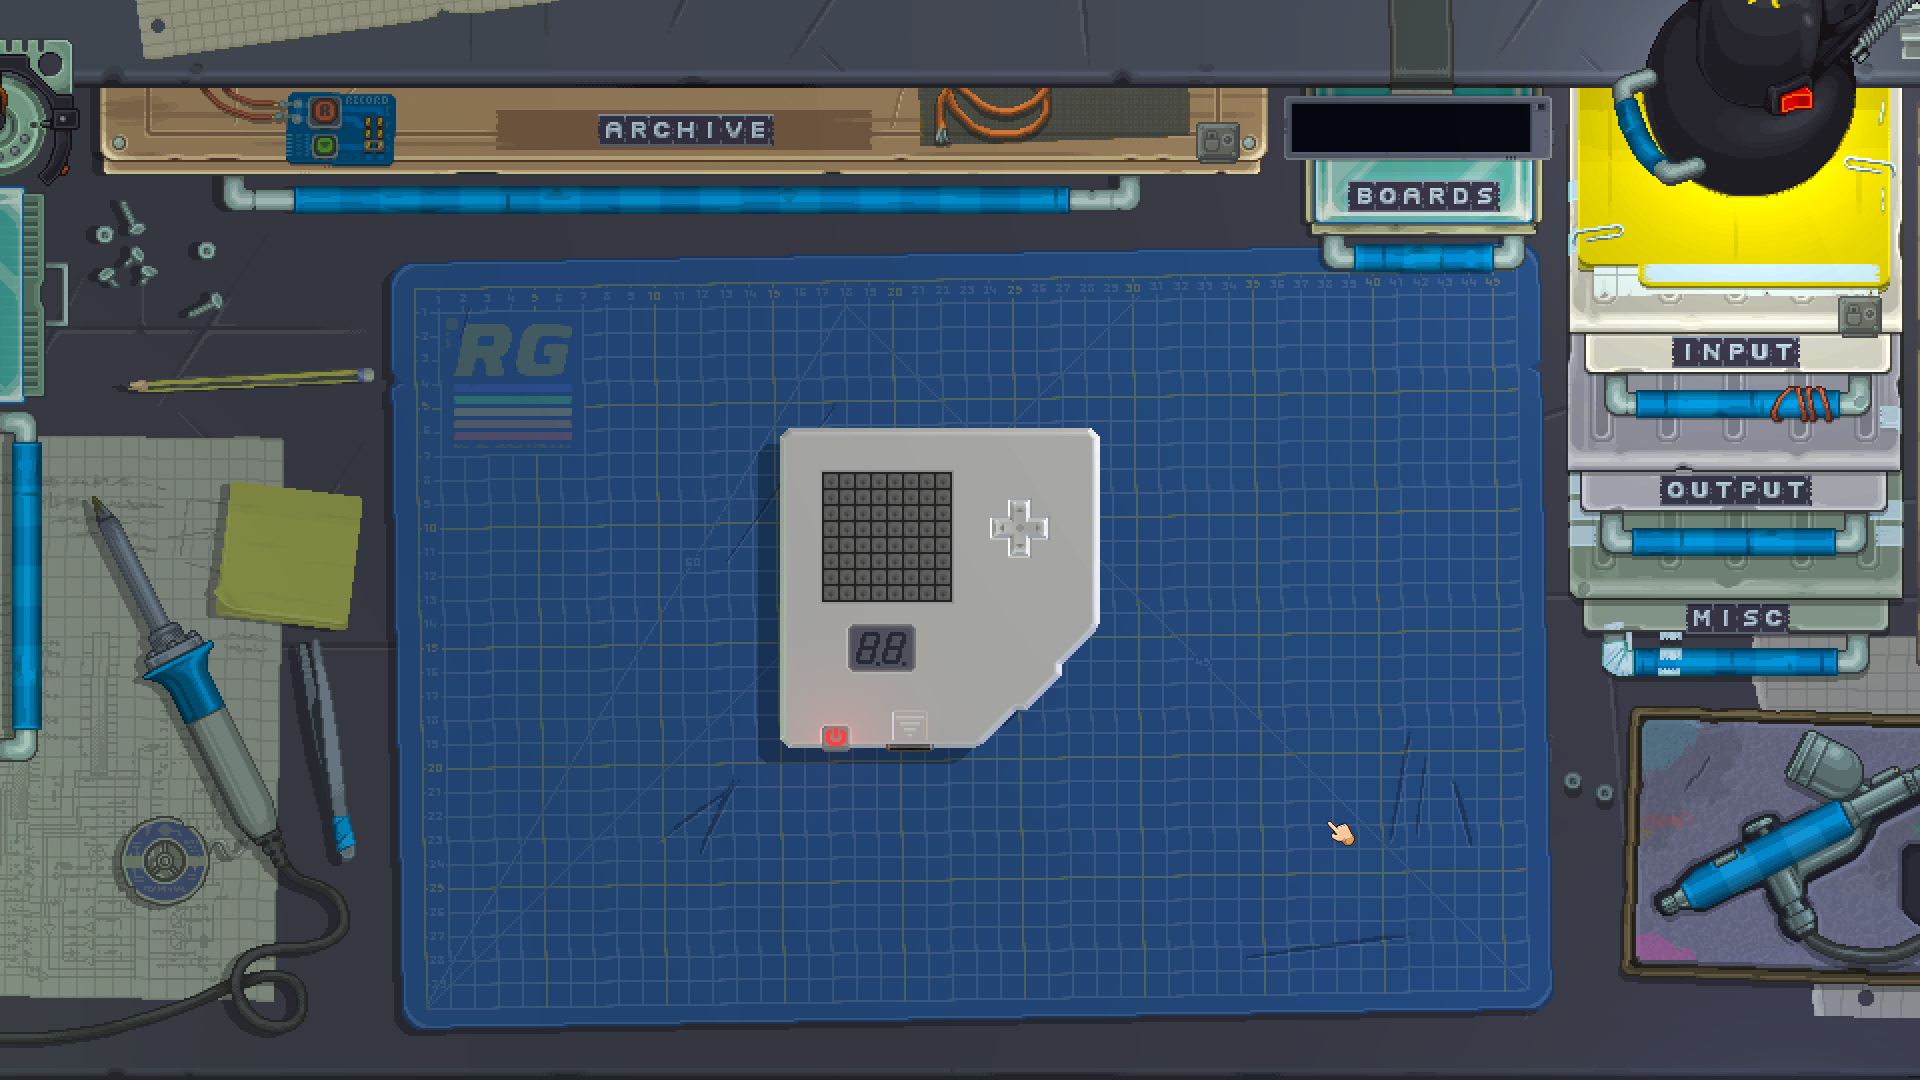
The segment display will be easier to read if you paint it a darker color with the Airbrush.
Setting up the modules
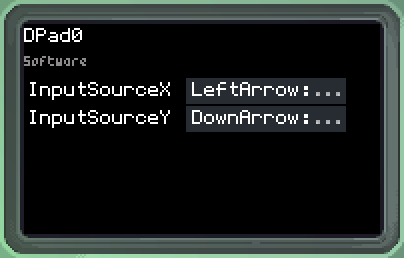
Like we've done with the Sound Board before, we're going to set some InputSources for our D-Pad control in the Multitool. Since the D-Pad expects axes, not individual buttons, we need to tell it which keys of the KeyboardChip will control each axis.
Once you click to set InputSourceX and pick from KeyboardChip0, the input will look for an axis. Since the KeyboardChip does not have an axis (an analog input like a game pad has), your only option will be a Buttons axis, that is, a virtual axis that will be controlled by 2 keys instead of an actual analog input.
- For InputSourceX, the horizontal axis, set Negative to LeftArrow and Positive to RightArrow
- For InputSourceY, the vertical axis, set Negative to DownArrow and Positive to UpArrow
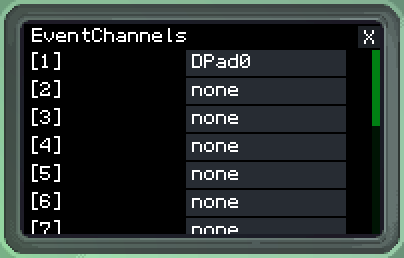
At this point you can turn on the gadget to see that your keyboard's arrow keys will move the D-Pad. After you've done that, set the CPU's EventChannel 1 to DPad0, this will make it so any movement on the D-Pad will trigger an event.
Writing our code
Since we'll be starting from scratch, you can erase the initial boilerplate provided to us to start with an empty code file.
First, let's make some shorthands to make our life easier when referencing each one of our gadget's modules:
local pad:DPad = gdt.DPad0
local matrix:LedMatrix = gdt.LedMatrix0
local counter:SegmentDisplay = gdt.SegmentDisplay0
This means we can refer to our D-Pad by just pad, the LED matrix by just matrix and our segment display by just counter in the rest of our code. We are also setting each respective type after each variable's name with a :, so the code editor will know how to give us auto-complete suggestions.
Now, let's create some variables to store the information we need for our purposes:
local playerX = 1
local playerY = 1
local playerColor = color.yellow
local goalX = 0
local goalY = 0
local goalColor = color.red
local countValue = 0
playerX and playerY will store the player's starting position. You can change these, keeping in mind that the LED matrix has 8 columns and 8 rows, starting from 1. playerColor is the color the player's dot will light up in the matrix, which you can also change.
goalX and goalY will store the goal's position, and goalColor its color. We don't need to set this position right now since we'll make a function to do that for us.
countValue will be the number of times the player has reached the goal, to be displayed in the segment display.
With those values in mind, let's write a couple functions that will use them. The first is a function to randomize the goal's position:
function randomizeGoal()
	-- this code will repeat until we quit
	while true do
		-- place the goal in a random spot
		goalX = math.random(1, 8)
		goalY = math.random(1, 8)
		-- only quit if the goal is not where the player is
		if goalX ~= playerX or goalY ~= playerY then
			return
		end
	end
end
Every time this function is called, it will change goalX and goalY to a different position. We start with a forever while loop, so that the code only exits when it has reached a specific condition we want.
In that loop, we are using math.random to generate an integer number between 1 and 8, to fit inside the LED matrix. We generate one such random number for the horizontal and the vertical positions of the goal respectively.
Next, we check if the goal's position is different (~=) from the player's position. Since we don't want the goal to be generated where the player is standing, we only quit this function (with return) if that is the case. Otherwise, the function will not quit, and the loop will start over again, generating new numbers until the condition is met.
Now, we'll write a function to use the values we have to update our matrix and segment display:
function updateDisplays()
	-- clear all the matrix
	for x = 1, 8 do
		for y = 1,8 do
			matrix.States[x][y] = false
		end
	end

	-- set player dot
	matrix.States[playerX][playerY] = true
	matrix.Colors[playerX][playerY] = playerColor

	-- set goal dot
	matrix.States[goalX][goalY] = true
	matrix.Colors[goalX][goalY] = goalColor

	-- set counter
	counter:ShowDigit(2, countValue % 10)
	counter:ShowDigit(1, (countValue/10) % 10)
end
First, we are using a different type of loop, the for loop to run through the entire matrix and clear it. The two nested for functions will run each time with the values x and y iterating from 1 to 8. The nesting means that the inner loop will run 8 times for each of run the outer loop. Since both loops run 8 times, this means that the inner code will run 64 times, each single time with all permutations of x and y increasing from 1 to 8. The code inside the loop is using those values to set all of the LEDs in the matrix off, therefore we are clearing the entire matrix regardless of its current state.
Next, now that the matrix is cleared, we use playerX and playerY to set that particular LED in the matrix on, and then for it to be the player's color. Notice how in a LED matrix, we need to tell what column and row we want to set a State and a Color of.
The next part does the same thing, but for the goal dot.
Lastly, we make the counter segment display show our countValue using the ShowDigit method. We need to set each digit of the segment display individually, so we do that with some math. The second digit of the display shows the lower digit of our number, using modulo (%) to get the value's remainder from a division by 10. The first digit of the display shows the next higher digit, so we need to divide by 10 first, then take the same remainder from that number.
Once you have those two functions, call them at the end of your code so that they run once when your gadget is powered on:
randomizeGoal()
updateDisplays()
At this point you should be able to turn your gadget on and watch the red goal dot appear in a different position each time you power on your gadget. The segment display should read "00".
Now we'll write a handler for the D-Pad's events to move our player.
function eventChannel1(sender, event)
	-- i only want to run if the dpad changed to pressed, not released
	if event.X ~= 0 or event.Y ~= 0 then
		-- move horizontally
		if event.X < 0 and playerX > 1 then
			playerX -= 1
		elseif event.X > 0 and playerX < 8 then
			playerX += 1
		end

		-- move vertically
		if event.Y > 0 and playerY > 1 then
			playerY -= 1
		elseif event.Y < 0 and playerY < 8 then
			playerY += 1
		end

		-- if player overlaps goal, count up
		if playerX == goalX and playerY == goalY then
			countValue += 1
			randomizeGoal()
		end

		updateDisplays()
	end
end
We start by checking if the D-Pad was pressed, not released. Since when the D-Pad is released, both X and Y axes will read 0, we are checking if either one of them are different from 0.
To move the player horizontally, we check if the X axis is negative, and if the player is to the right of the leftmost edge (1). If both conditions pass, we decrease the player's X value to move it left. We also check if the X axis is positive and if the player is to the left of the rightmost edge (8). If those conditions pass instead, we move the player to the right.
The next part does the same for the vertical axis, however you must note that the D-Pad's Y axis is positive when pressed up and negative when pressed down, so those conditions are "reversed" when compared to the horizontal movement.
One last condition checks if the players X and Y positions match the goal's X and Y positions. This means that the player is overlapping the goal, and therefore has reached it. If that is true, then we increase the countValue and tell our program to randomize the goal again.
Finally, we call for the displays to be updated again. This means that each time we press a direction in the D-Pad we'll be able to see the LED matrix change.
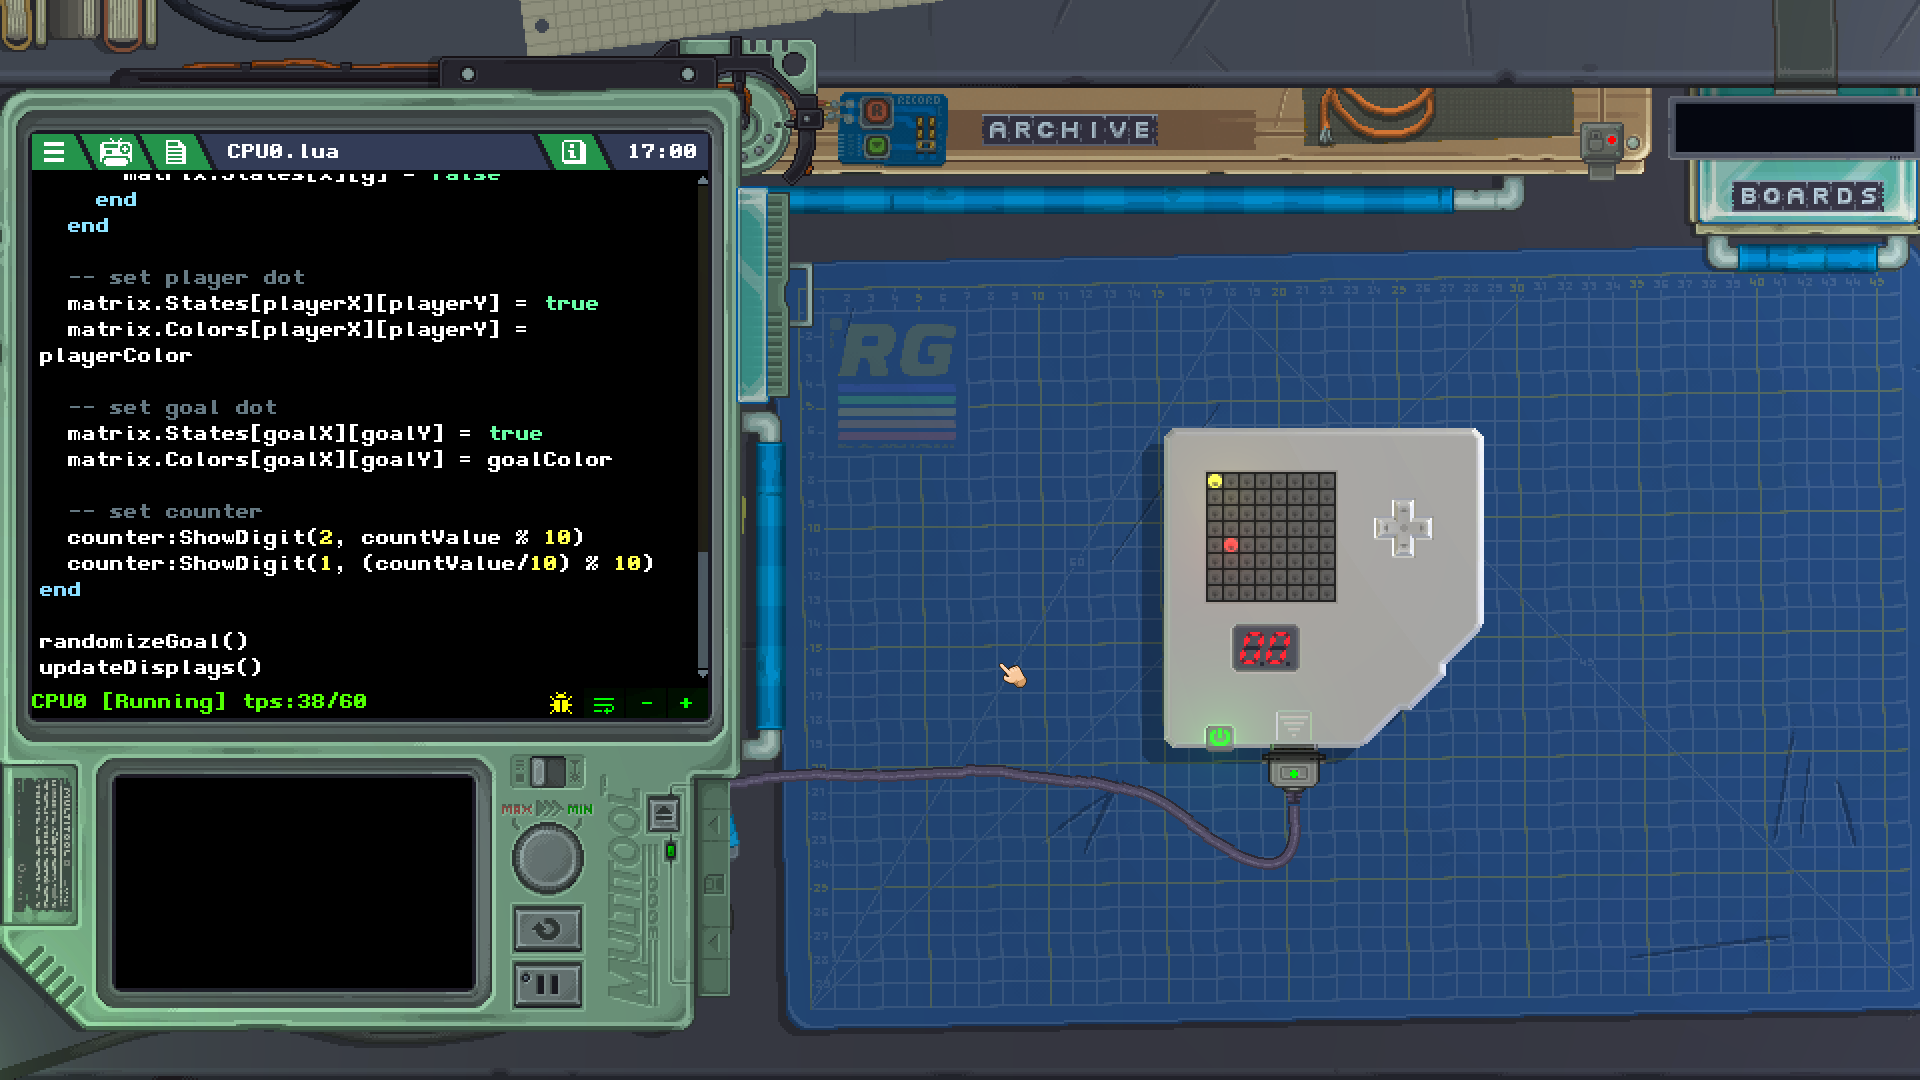
You should be able to turn on your gadget, move your yellow player dot around and collect red dots to increase the number in the counter display.
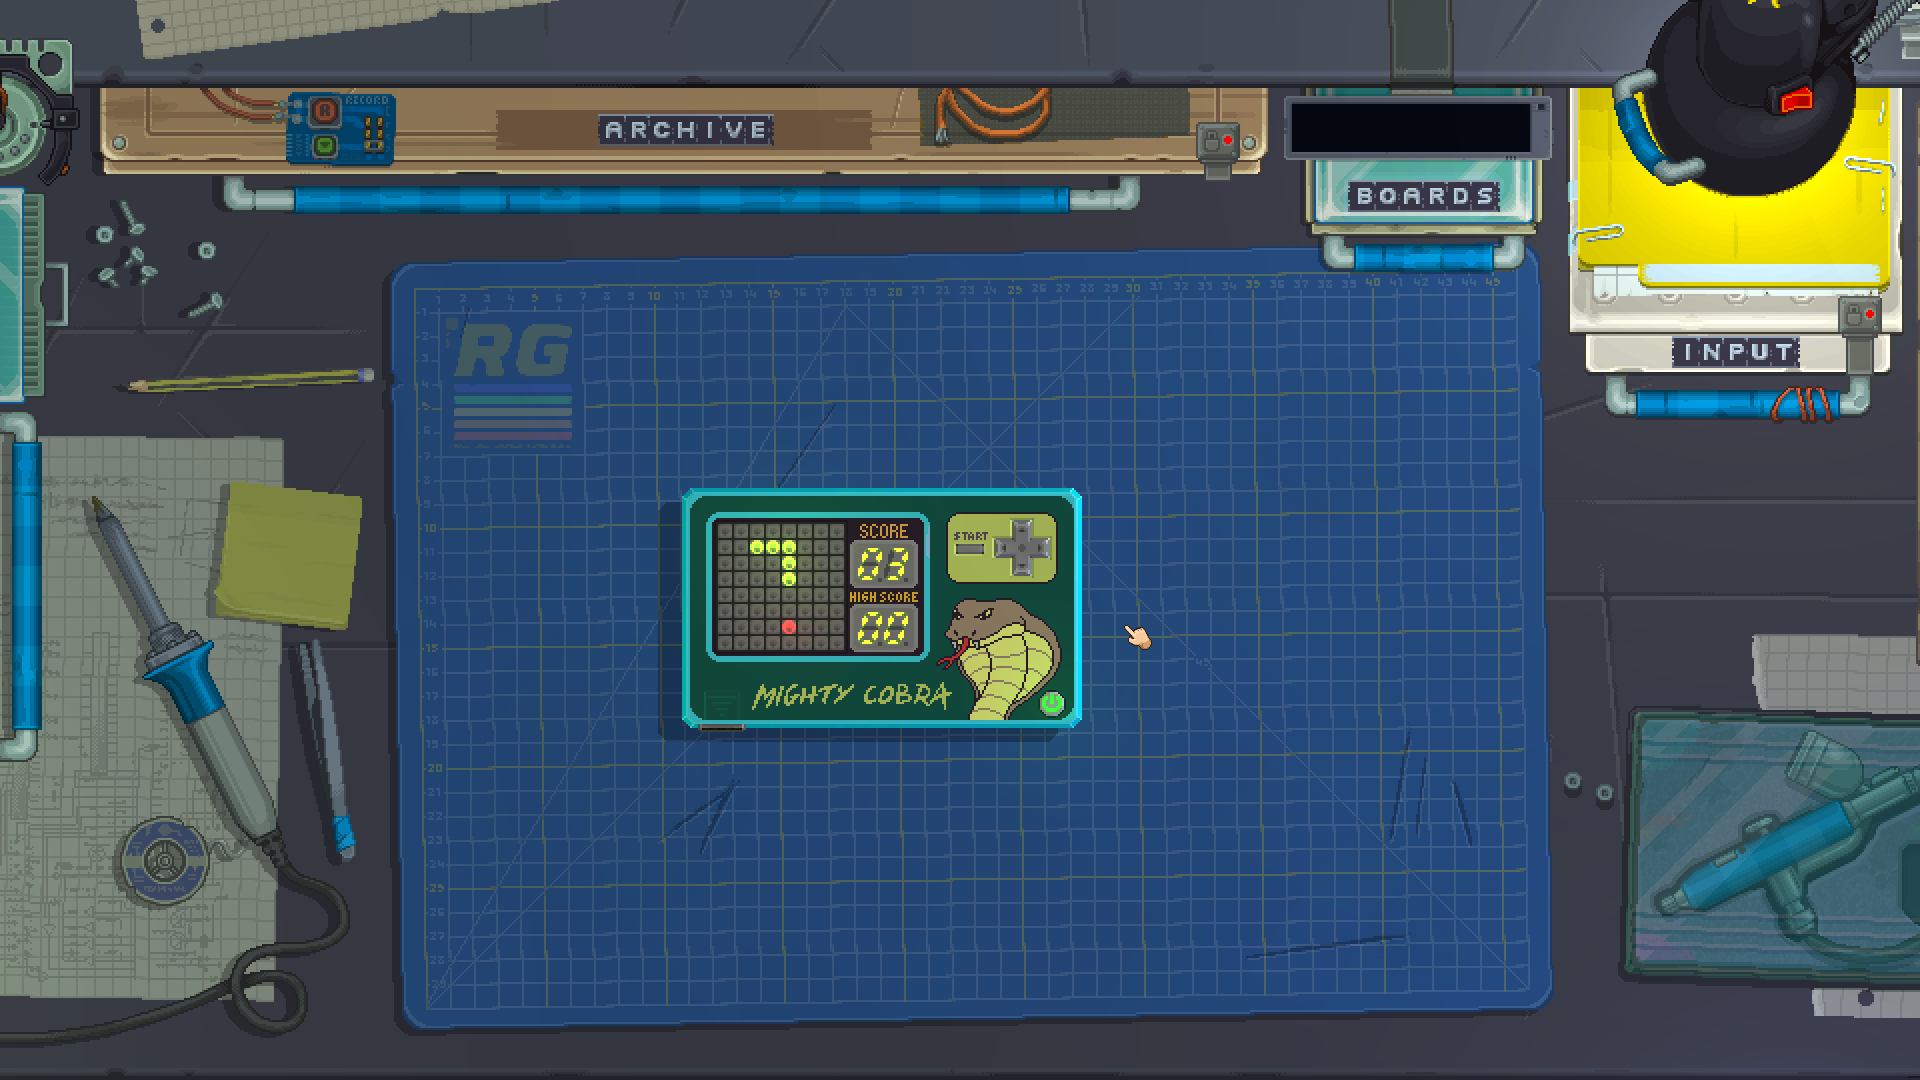
Conclusion
Now that you know how to take D-Pad inputs and set LEDs in a matrix, you should have enough knowledge to see how the Mighty Cobra game works! If you can't find this game in your Archive drawer, check the Tutorial button in the main menu for the built-in gadgets to print a copy.